What is Microsoft OneDrive? OneDrive is a free online storage. It was previously called SkyDrive. It is a cloud storage service. You can use it to handle your files on your PC or to check your photos on your phone.
And OneDrive is available in more places, like Windows Phone, iOS, Android, Mac OS X, Xbox 360 and Xbox One. It is convenience for us to store some things. If you use the Online OneDrive, here is the tutorial: how to use Online OneDrive on Windows 10.
Contents:
- OneDrive Main Functions
- How to Configure and Use OneDrive on Windows 10?
- How to Setup OneDrive on Windows 10?
OneDrive Main Functions
As a desktop application and a cloud storage service, OneDrive has several functions.
1. One drive can upload the photos in applications to the cloud automatically.
2. It has the function of the office online. It can set up, edit and share the files. Furthermore, it also can switch the files to the local files.
3. One drive can share the files, photos and the whole folders with other users.
With these good points, it’s time for you to use it. Next, I will give you a detailed tutorial.
How to Configure and Use OneDrive on Desktop and Laptop in Windows 10?
OneDrive is integrated into Windows 10. So when after installing the Windows 10, the OneDrive application is installed. And if you want to use it, you just need to configure it.
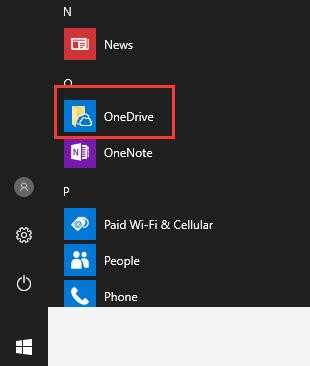
1. Open OneDrive from the Start menu.
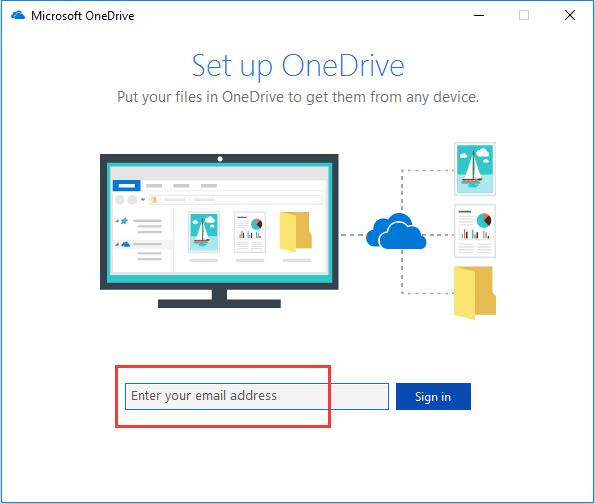
2. Type your Microsoft account and its password. If you haven’t the Microsoft account, you can register one.
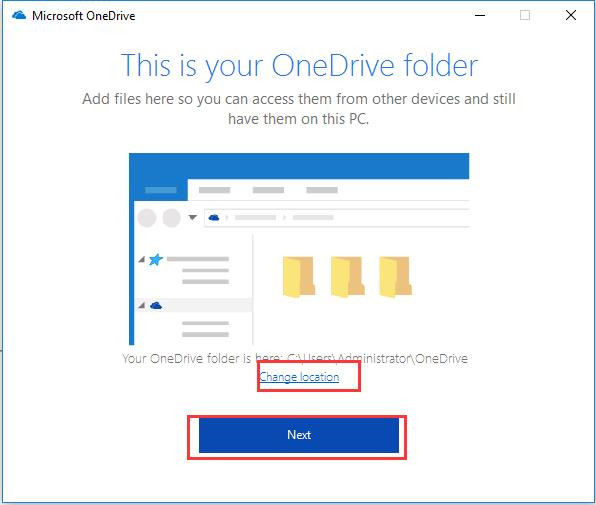
3. Here you can choose the location for your local OneDrive folder, or you can use the default path. Then click Next.
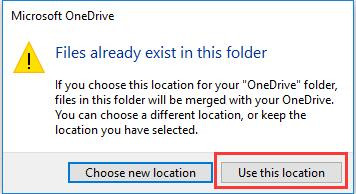
4. Choose Use this location. If you want to choose a new location, you can click the first action.
5. Tick Sync all files and folders in OneDrive, this will sync all your Online OneDrive files to your PC. This will take you some time. Then click Next.
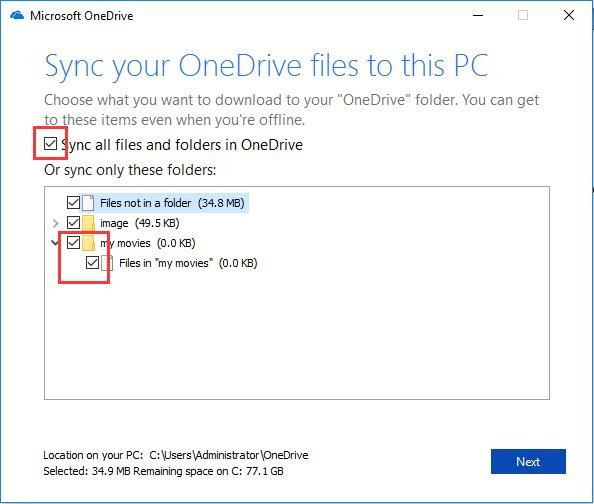
If you do not want to sync all the files and folders, you can choose the images or expand the folder to select the specific files.
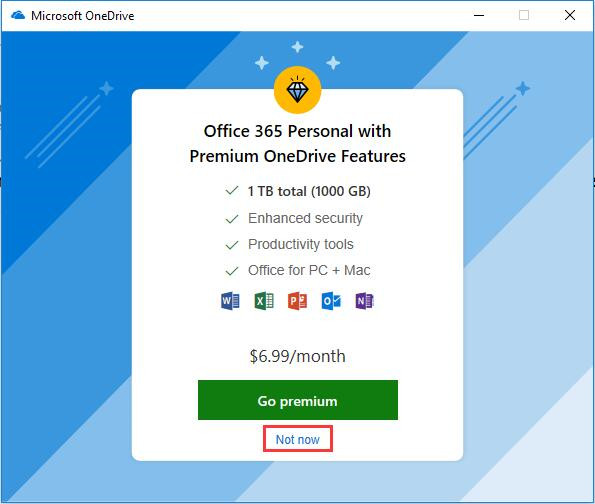
6. Click Not now. Of course, you can Go Premium to use the advanced services.
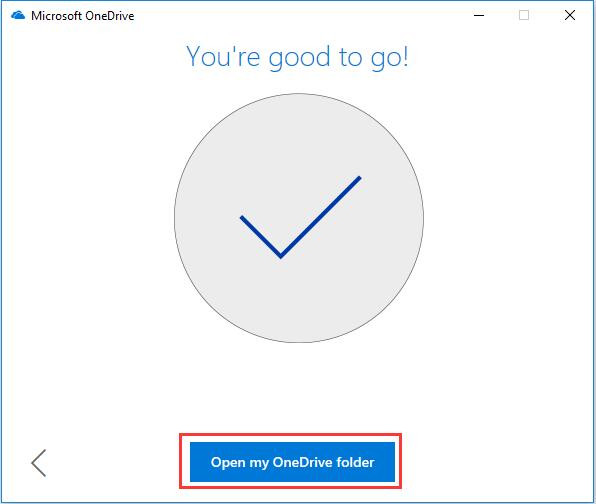
7. Click the Right-Arrow for several times, until the last window you can see. Then click Open my OneDrive folder.
After that, you will enter the OneDrive folder on your PC. And the interface is simple.
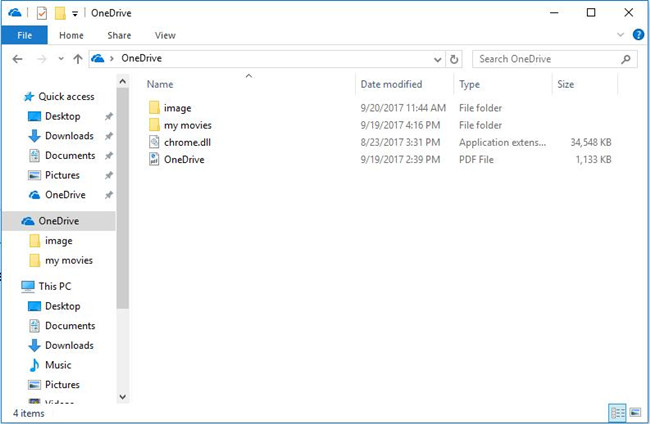
Now you can use it to add, remove or manage files directly.
Add and Manage Files
Here you can copy a folder that you need, then paste it to OneDrive. And another way is you can drag the folders to here directly. If you want to make your OneDrive clearer, you can manage these files. For example, you can delete, remove, rename and share them by right-clicking the folder or files. Then select the option you need.

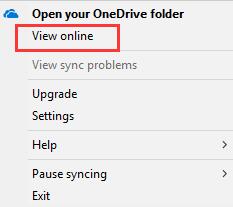
After you added files to the local folder, you can log in the Online OneDrive or right-click the OneDrive to choose View Online. You will see the files are synced.
How to Setup OneDrive on Windows 10?
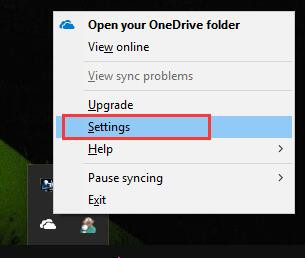
At first, select OneDrive in the taskbar and right click it to choose Settings.
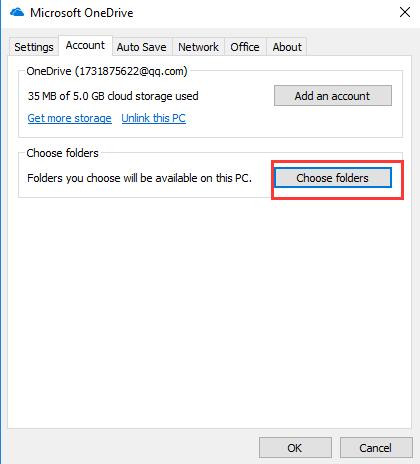
Then you can jump to this window. Then you can click Choose folders.
Next, you will go to this window. If you want to select your files to sync to this PC, you can make it here. And the files you synced will occupy the space of this PC.
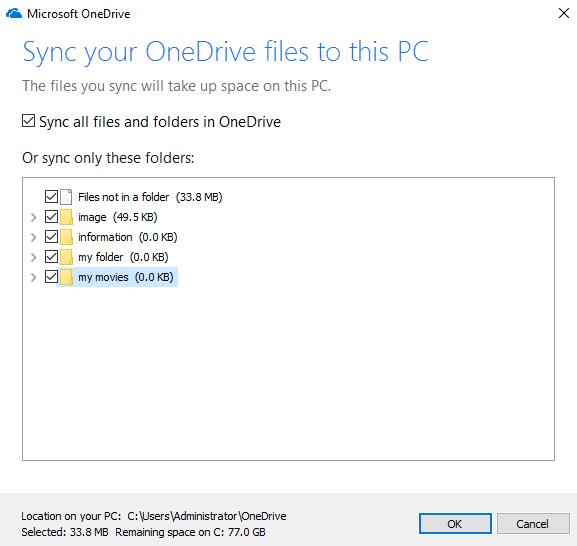
On the bottom of this window, you can see the location on your PC. Then you can find them at that location. You can also know the storage of the files you selected and the remaining space of your location disk on this PC.
Settings
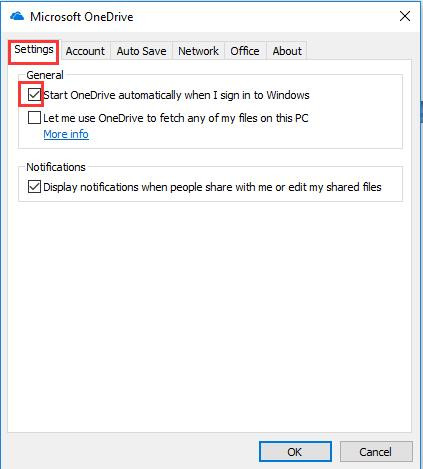
Under settings, the default setting selected Start OneDrive automatically when I sign in to windows. Then if you don’t want to start it automatically, you can choose to hide it. Then click OK.
And if you want to know the message when others share with your files or edit the files you shared, you can open the Display notifications when people share with me or edit my shared files. Then click OK.
Auto Save
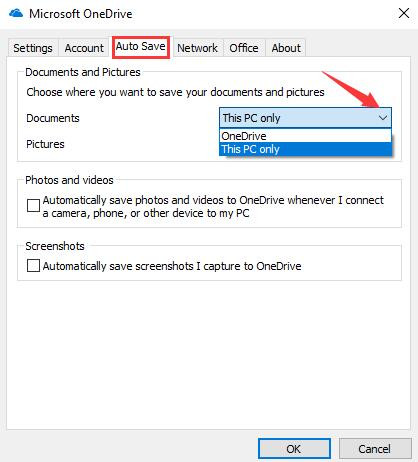
Here you can choose the places that you want to save your documents and pictures. Click the drop list, and you choose it.
If you want to save the photos and videos to OneDrive automatically when you connect a device to your PC, you can select the checkbox. Such as, the photos and videos are in a camera or a phone.
And you can also set the screenshots to save in OneDrive automatically when you need.
Network
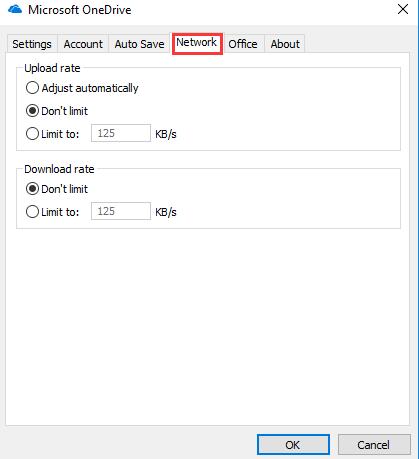
Here you can set the upload rate and download rate. If you don’t care it, you can use the default setting: Don’t limit. But if you want to reset the rate you need, you can select Limit to set up it.
Actually, under the Upload rate, you can also select Adjust automatically. Then it will be uploaded according to the network environment.
Pausing syncing
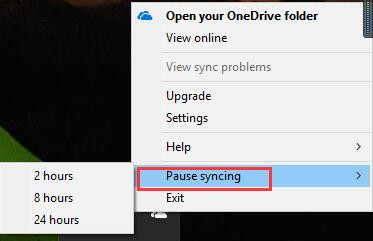
The default setting is syncing the data or folders to OneDrive. And if you want to pause it, you can select the hours you need to pause. When the time is over, it will restore to sync.
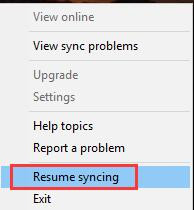
And if you want to restore it now, you can right-click on OneDrive. On this window, you can select Resume syncing. Then it can sync at once.
After reading this guide, you can know how to use OneDrive on windows 10. Meanwhile, you can know how to set it to use it easily.
More Articles:
How to Turn Off or Uninstall OneDrive on Windows 10?