Sometimes, you may hope to resize pictures on Windows 10. For various purposes, it is extremely necessary for you to compress photos or reduce image file size in Windows 10. You may need to send resized photos to your customers or clients. Under this circumstance, compressing the file size is necessary.
No matter what you feel like by resizing photos, you need an image resizer for Windows 10. It is said on Windows 10 you can hardly achieve reducing image size, so you are supposed to get the tool in order to resize PDF pictures.
How to Reduce Image Size on Windows 10?
With the help of this post, you can learn more ways to resize JPEG, PNG, GIF etc. pictures in Windows 10, for instance, from the perspective of Paint, Windows Store app and some other tools.
Now let’s try to make images smaller in Windows 10.
Method 1: Use Microsoft Paint to Resize a Picture
Paint on Windows 10 is vital to screenshot. As for resizing photos, it is also feasible and useful. Therefore, when you need to compress picture size on Windows 10, you may as well manage to utilize Paint to make smaller photos.
Now you may as well try to use Paint to reduce the size of a photo from 320*320px to 160*160px or any other size you want for the image on Windows 10.
1. Search Paint in the search box and then hit Enter to move into it.
2. In the top left corner, select Paint and then choose to File > Open. Then pick out a photo from your PC. After that, you will see the picture is in the Paint.
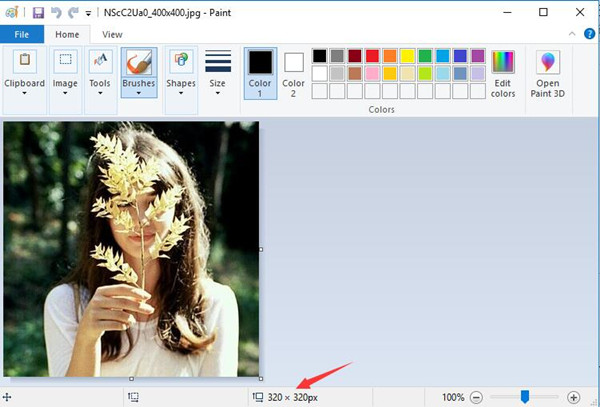
And it size is 320 * 320px. Now you reduce it to any size you like.
3. hit Home and then under Image, choose Resize. You can also use the Paint shortcut Ctrl + W to open resize function.
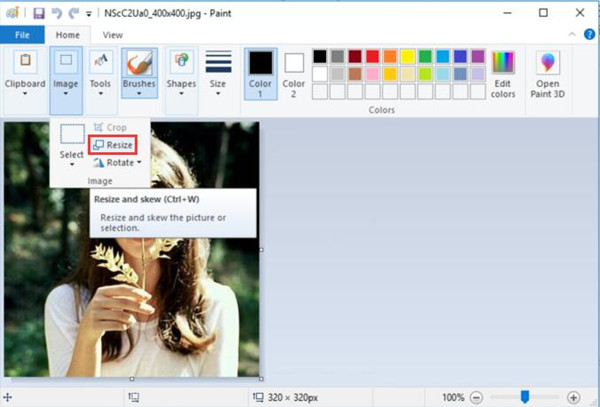
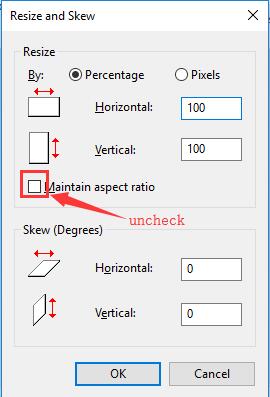
In Resize option, you can reset the Photos image size.
4. There are two ways you can do to reduce the image size: Percentage and Pixels.
How to Compress Photos with Percentage in Microsoft Paint?
You can type a number in Horizontal, it can be 1 to 99. And of course, the Vertical can be also changed.

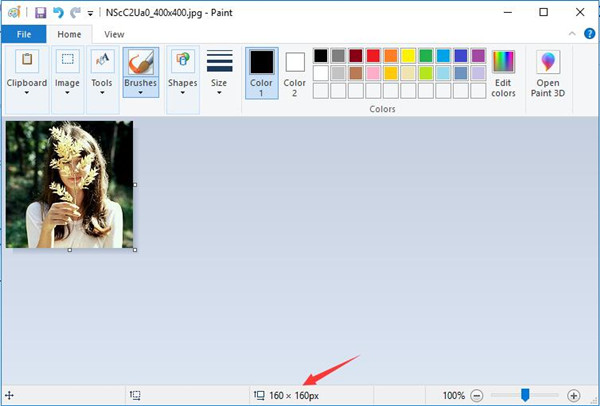
Now if you set the Horizontal as 50, and then click OK. You will find the picture is small than the original picture. You will get file size as: 160 * 160px.
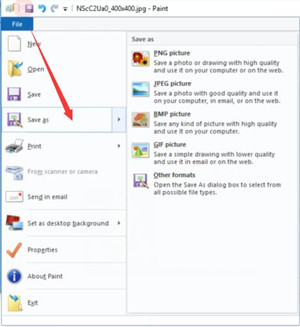
Click File > Save as. You can save the resized picture as different format such as PNG, JPEG, BMP, GIF, and Other Formats.
Tips: If you want to set the Vertical size separately, you should uncheck the box of Maintain aspect ratio.
How to Resize Your Photos with Pixels with Microsoft Paint?
In Resize window, choose another option of Pixels. Here you can reset the horizontal and vertical in Pixels.
When you type a number in horizontal such as 160, the vertical number will be also changed to 160. And then you will see the picture is small to 160*160px size.
Tips: If you want to set the Vertical size separately, you should uncheck the box of Maintain aspect ratio.
The instant you save the photo you have just resized, it is likely that you have mastered the method to reduce picture size for Windows 10 with the assistance of Paint. You can obviously notice that Windows 10 photos have been resized and the image size has been reduced in this way.
Related: 6 Ways to Open Snipping Tool on Windows 10
Method 2: Download an Image Resizer to Reduce File Size
It is said that you can always find common applications in Microsoft Store, Image Resizer is no exception.
Upon the time you want to make smaller photos in Windows 10, you can turn to Microsoft Store to get the one you need.
With the help if this image resizer, you are able to reduce the image file size as you wish, for instance, resizing pictures from size 800 X 650 to size 450 X 300 on Windows 10.
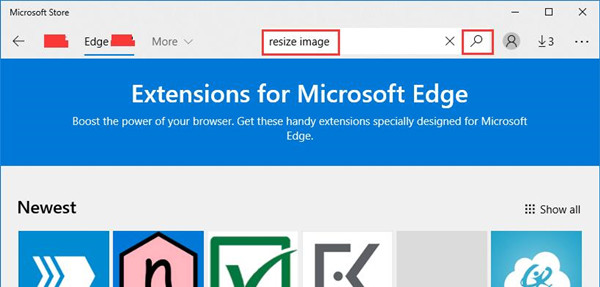
1. Type in Microsoft Store in the search box and then press Enter.
2. In Microsoft Store, in the search bar, input image resizer and then search it.
3. Then Resize Image app will come up, click Get to download it on Windows 10.
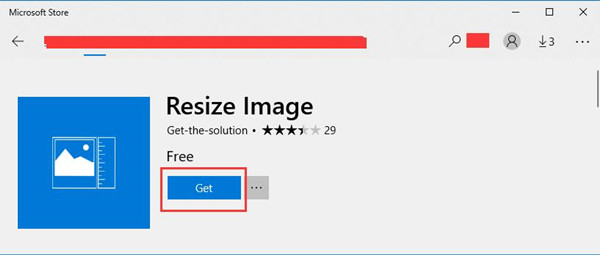
4. Install it on your PC.
Or to get the Image Resizer in Windows 10 free download, you can navigate to Microsoft site. Here the resizing tool is available for you all the time.
After you get the Resize Image installed on Windows 10, attempt to use it to reduce image file size. Now you can see that the picture size is reduced.
Tips: For some people, it is also feasible that you try to take advantage of Windows Photo Gallery to compress Windows 10 pictures. But you may have already noticed that you can no longer get Windows photo gallery ever since 2012. That is why you can only use this way when you have a photo gallery on your PC.
So if you are equipped with Windows Photo Gallery, you can make use of it to resize PDF pictures as you wish.
You can just Edit it in Photo Gallery, including the size of the pictures.
These can all be helpful for you to resize a photo on Windows 10. Just try them one by one until you get the smaller photos.
In short, when you would like to reduce image file size on Windows 10, the resizing tools are always ready for you. In this way, you are able to make pictures smaller.
More Articles:
Fix Invalid Value for Registry When Opening Photos