Some Windows 10 users may be unfamiliar with the feature System Restore and have no idea about how to use it. If you are one of them and you want to know more about it, you can go on reading this passage.
Contents:
- What Is System Restore and its Functions?
- How to Enable System Restore in Windows 10?
- How to Create a System Restore Point in Windows 10
- How to Restore Windows 10 to Previous Date with System Restore
- How to Delete All System Restore Points
What Is System Restore and its Functions?
System Restore is a very useful feature in Windows, for it allows users to revert the computer’s system state to a previous date if you did some unwanted changes or harmful changes to your computer.
But the premise is that you have enabled this feature manually. For example, you have performed Windows Update, but it caused some errors, so you want to restore the system to the point before Windows update is installed. Then System Restore can help you.
If you enabled System Restore function, the Windows system such as Windows 10 will create a restore point once per week automatically and create different restore points before important changes like:
1. When you install software using Windows Installer or other installers aware of System Restore;
2. When you try to perform Windows Update;
3. When you try to install an unsigned driver;
…
And you can also create a restore point manually.
System Restore is recommended when an installation failure or data corruption occurs. It can take a snapshot of your system files, some program files, Windows Registry and device drivers, and save them as restore points.
After restored the system, the software installed after the restore point was created will be uninstalled, and removed software will be restored.
But System Restore only restores some certain types of files, so the restored programs often cannot work properly unless the installers are runs again.
In addition, System Restore is different from making backups, for it will not save copies of personal files, nor delete or replace your personal files. Many errors can be fixed by this feature. But if you choose to use it to remove viruses or malware, it may be not a good choice.
How to Enable System Restore in Windows 10?
System Restore won’t open? By default, System Restore is turned off in Microsoft Windows system, so the System Restore and Create buttons in System Properties window are grayed out, which indicates that System Restore is disabled. Therefore, you need to enable it if you want to use this feature.
Where is System Restore on Windows 10? Here are steps to find the System Restore location and enable it.
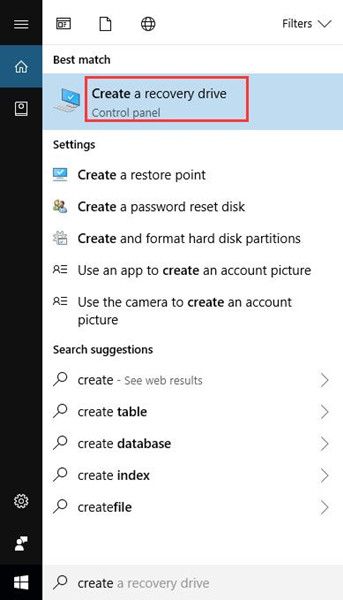
1. Type create in the search box, and choose to Create a recovery drive.
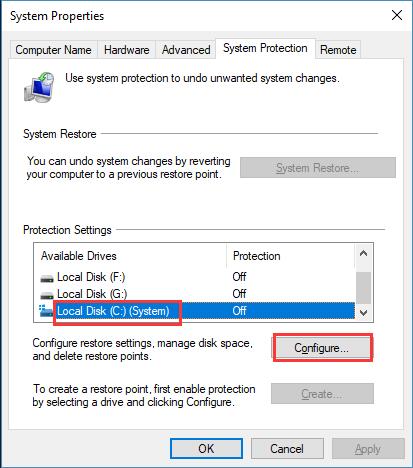
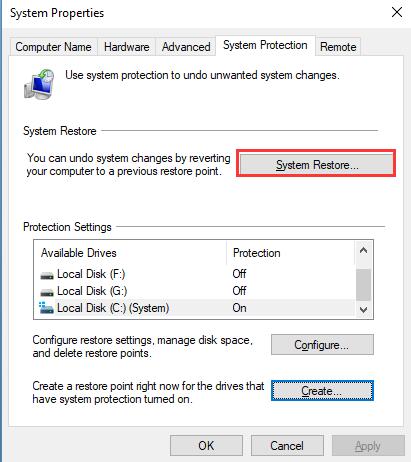
2. On the System Protection tab, you will see available drives and whether the protection is turned on or off. Select a drive and then click Configure. If the protection of disk C hasn’t turned on, choose Local Disk C first.
3. Check Turn on system protection. And adjust the Max Usage to the amount you want System Restore to be able to use, and then click Apply.
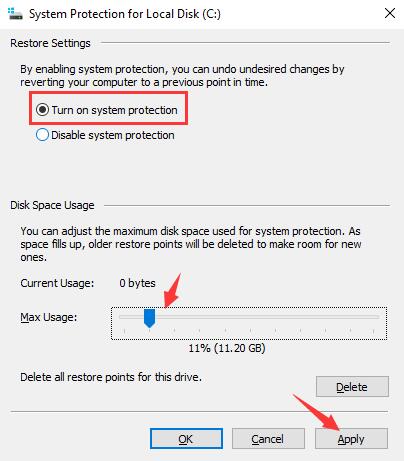
Then you will see System Restore button and Create button is usable.
How to Create a Restore Point in Windows 10
As we mentioned above, if you enabled this feature, it will create a restore point for your system automatically before you make some important changes. But sometimes you may need to create a restore point manually to restore your laptop or desktop to a previous date. It is quite easy.
1. Type create in the search box and choose Create a recovery drive.
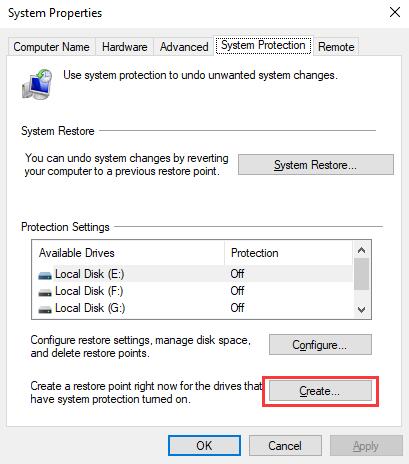
2. Click Create button.
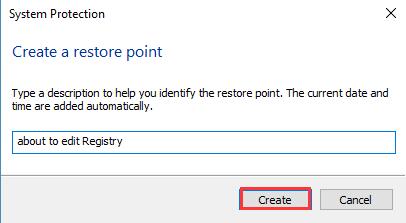
3. Add a simple description to the restore point. For example, if you are going to edit the Registry, you type ‘about to edit Registry‘ in the box.
4. Then it will tell you that “The restore point is created successfully”.
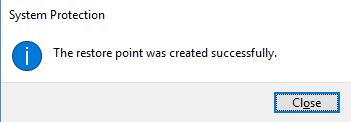
5. Click Close. A system restore point is created.
Note: System Restore will create restore points on all drives whose system protection is turned on.
How to Restore Windows 10 to Previous Date with System Restore?
Supposing some problems appear after you make some important changes, you can use System Restore to make your computer return to a previous state.
Restore Computer to a Previous Date After Booting Up
If you can boot your computer and can log in Windows, here are steps of System Restore for you. If you cannot, skip to the next part.
1. Use the same way to get to System Properties window, and click System Restore.
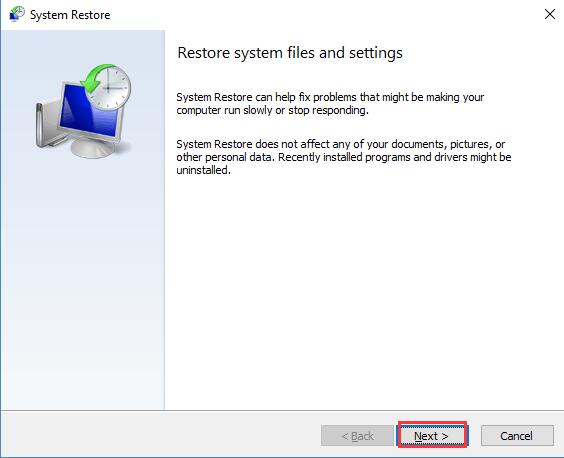
2. Click Next to continue.
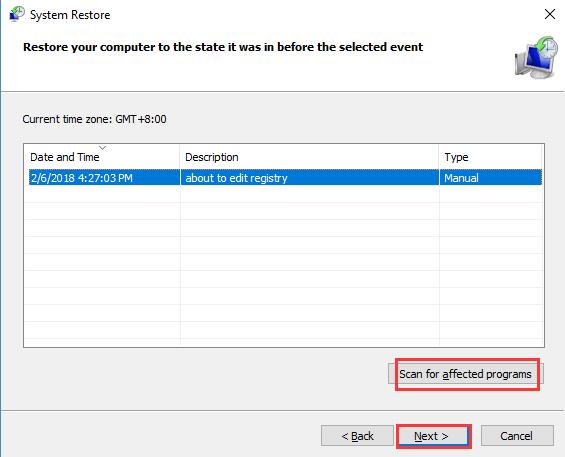
3. Then choose a restore point (the latest one is recommended). You can choose Scan for affected programs to look which drivers and programs are about to be deleted or restored after System Restore is performed. Then click Next to go on.
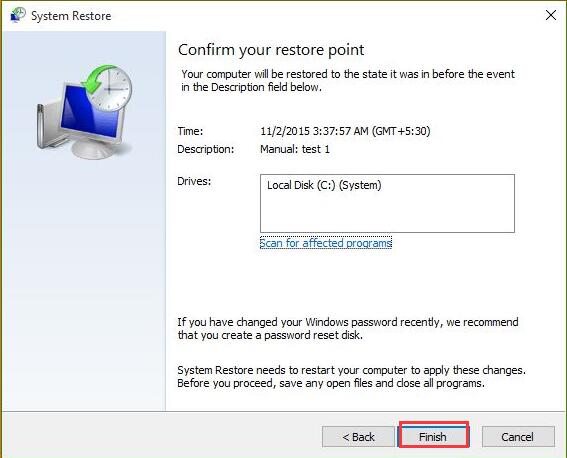
4. Then you’ll see a confirmation, click Finish to continue.
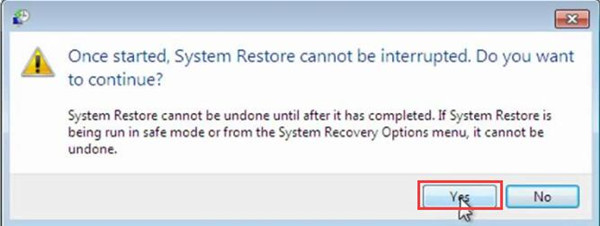
5. When System Restore reminds you that “Once started, System Restore cannot be interrupted. Do you want to continue?“, click Yes to start system restore.
Restore Windows 10 to Earlier Date from Boot
1. Start your computer three times to start automatic repair on Windows 10.
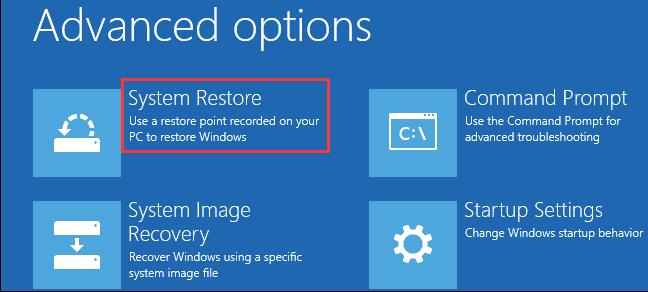
2. Select Advanced Startup > Troubleshoot > Advanced options > System Restore.
3. Select the system account you wish to repair, and type the password, then click Continue.
4. Click Next.
5 The following steps are the same as selecting a restore point after booting up the computer.
6. After these steps are completed, your computer will be restarted and System Restore will begin. After this process finished, your computer will be restored to a previous date when the restore point was created.
A: Typically, system restore takes between 15-45 minutes. This depends on the file size of the restore point you are creating and whether you are restoring the affected program.
But this restore process does not need to wait for several hours. So if your system restore has been going on for a few hours, then it is stuck.
How to Delete All System Restore Points
After you open the System Restore function on Windows 10, it will create many restore points to take up much space. This will result in less and less disk space being available.
You can prevent new system restore points from being created by turning this function off. For those system restore points that have already been created, you can delete them once and for all by using the following method.
1. Type disk clean up in the search box to open this desktop application.
2. Click OK and then wait for a moment.
3. In More Options tab, under the System Restore and Shadow copies, click Clean up button.
4. In the pop-up window, it reminds you “Are you sure you want to delete all but the most recent restore point”, click Delete.

5. Click OK.
6. Click Delete Files. Then Windows system will delete previous restore points.
Now you had already deleted most of the earlier restore points and free up more disk space.
System Restore is pretty useful to fix some annoying problems. If you want to do some critical changes to your PC, but not sure whether these changes will cause damages to the computer, you can create restore points in advance. After reading this passage, you should have a deeper understanding of System Restore. Hope it can help you.
More Articles:
How to Factory Reset Windows 10
[Solved] There Was a Problem Resetting Your PC on Windows 10