Frankly, we can say that using start menu is a simple way to access applications or to find some files and other things you saved on your computer. Then you can understand that it is necessary for us to learn how to adjust it. Finally, you can work better on your desktop.
Contents:
How to Manage Start Menu on Windows 10?
How to Adjust the Start Menu Tiles?
Where is Start Menu?
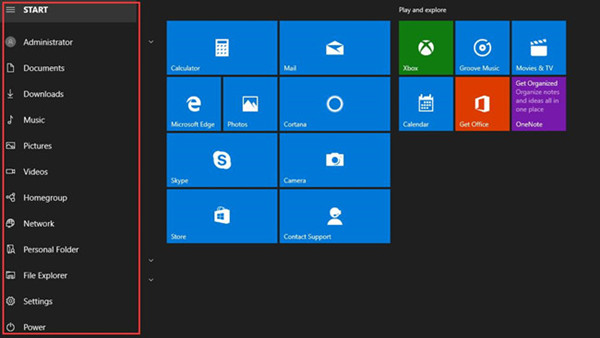
After clicking the start button, on the left of your computer, there is a menu column appears with shortcuts to your applications and settings. On the right, a screen full of tiles to Windows applications displays so you can walk into the Windows applications right from the menu.
How to Manage Start Menu on Windows 10?
Step 1: Press the Windows key, and click the Settings.
Step 2: Select Personalization.
Step 3: On this window, click the Start.
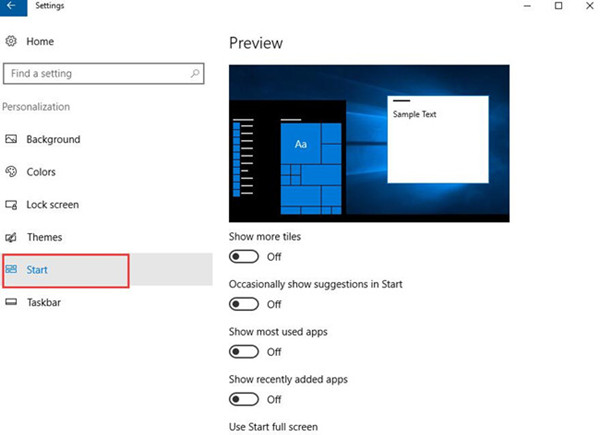
Step 4: scroll down the vertical scrollbar, and then you can choose to turn on or turn off these options.
Show more tiles
With the Show more tiles option on, you can see that the tile column has expanded by the width of one medium-sized tile. If you do it, maybe you can feel looser. But if you don’t, it will be ok. It’s up to you.
Occasionally show suggestions in Start
If you turn on it, you can see the suggested applications on the left of the start. Then you can set some applications according to your using.
Show most used apps
If you want to know that which are the most used applications that you use, you can turn on it. Then you see that on the top of the start menu under the most used list. And it can provide to you the shortcuts to the software you open more often.
Show recently added apps
It is easy for you to open the programs you installed recently in the start menu. So you can show it on. But if you needn’t, you can hide it.
Use start full screen
Windows 10 allows you to have a full-screen Start Menu. If you like a large Start Menu, then this option can make it. This can be especially helpful for you to see easily.
Show recently opened items in jump list on start or the taskbar
And here you can access to your recently opened items. The items you see in Jump Lists completely depend on your program. Jump Lists can be viewed for the most used items on Start Menu or Taskbar.
Step 5: scroll down the scroll bar to the bottom, and click Choose which folders appear on Start.
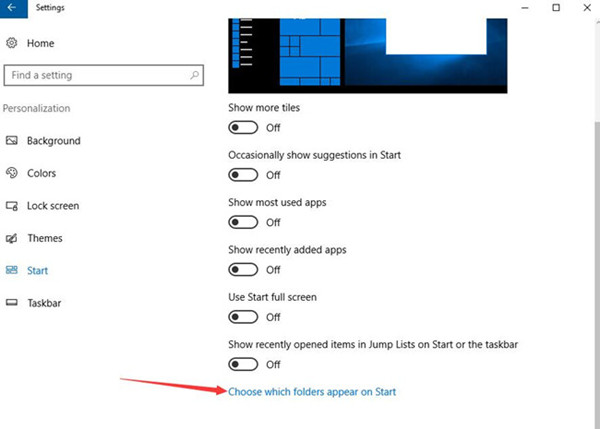
Here you can choose the folders to appear on the Start menu. If you want to find the File Explorer, Settings, Document, Download, Music, Photos, Videos and other folders on the start menu, you can turn on which one you need.
In this window, you can see the folders that you opened under START.
How to Adjust the Start Menu Tiles?
For best results, you can configure the start menu tiles.
If you’d like to get the items from left to right tiles, select the items you want. Then you need to click the right-hand button. Next, select the Pin to Start.
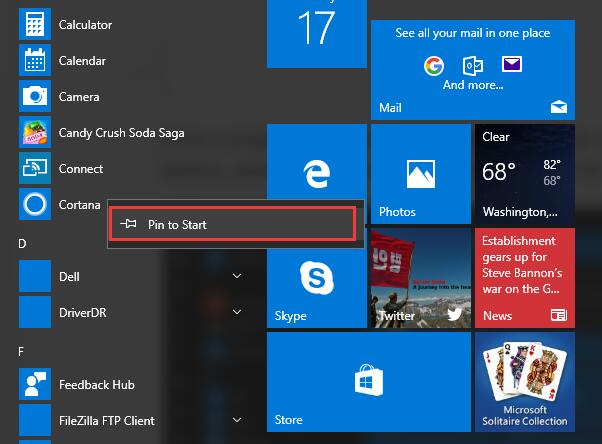
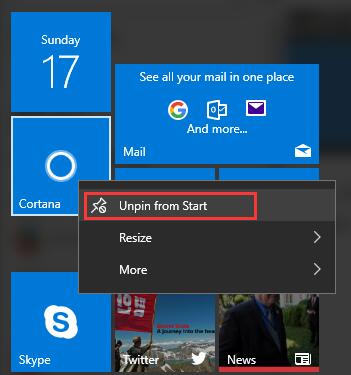
If you want to remove the tile, by the same way, but now you need choose to unpin to start. And another way to show this is that selecting one tile in the pinned tiles. Next, click the right-hand button and choose Unpin from Start.
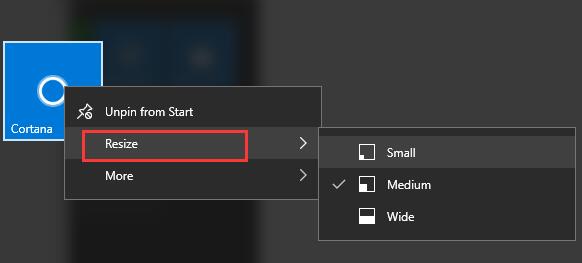
Once a program is added to the Start Menu, you can customize the size of the icon. Click the right-hand button, select the Resize. Then you can adjust the size that you desired.
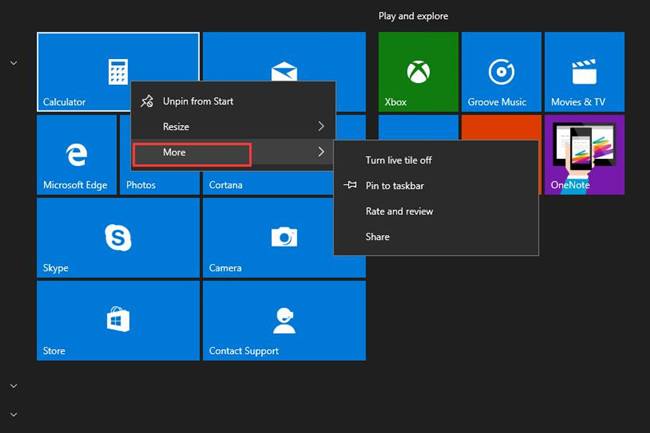
If you need to customize more on the items, you can select More. Here you can pin it to the taskbar or turn live tile off for your convenience.
May this guide can help you when you need to adjust the start menu for that you can have a optimized experience on your desktop.
More Articles:
Fixed: Start Menu Not Working on Windows 10
How to Fix Windows PowerShell Missing from Start Menu Problem on Windows 10