Can you record a webinar? Do you know how to record a webinar you are watching? This post will introduce 5 reliable ways in detail to record webinars on PC, Mac, iPhone and Android in case you miss it.
Recording your webinar is an important part of the overall webinar experience. It gives you the ability to review and replay the content you presented and allows your viewers to review the key points that were discussed.
So, if you want to record a webinar, continute reading and we will show you the efficient ways to record a webinar on any device.
Can I Record a Webinar I am Watching?
Yes. You can record webinars on your computer and smartphones while watching it.
There are numerous webinar platforms in the market, from GoToWebinar to Zoom, from Webex to Google Meet, and so on. Some of them provide a built-in screen recorder to make webinar recording more convenient.
However, if the webinar platform does not come with a default screen recording feature or you do not have permission to record the webinar, you will need to select a third-party screen recorder to help you record a webinar.
How To Record a Webinar for Later Viewing
In this section, we’ll show you 5 efficient ways to record a webinar on your Windows computer, Mac, iPhone, and Android. This way, you can easily get the recorded webinar videos for later viewing or backup.
Read on and use the provided solutions according to your device to facilitate your work or study efficiency.
Method 1: Record A Webinar Using Xbox Game Bar (Windows built-in)
You can use the built-in screen recording tool, Xbox Game Bar, to record webinars on Windows 10/11. Game Bar is designed to record gameplay on your computer, but it also works as a powerful screen recorder that can help you record webinars for free.
However, the Game Bar will only capture the screen of the webinar for up to 2 hours, and you will not be able to change the recording configuration. If you want to record a webinar professionally with no restrictions, go directly to Method 2.
How to Record Webinars with Xbox Game Bar
1. Make sure that Game Bar has been enabled on your PC. Go to Settings > Gaming > Xbox Game Bar. Turn Xbox Game Bar on.
2. Press Windows + G on keyboard to launch Xbox Game Bar.
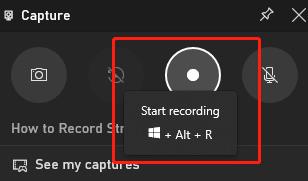
3. Click on the Record button or press Windows + Alt + G keys to start recording.
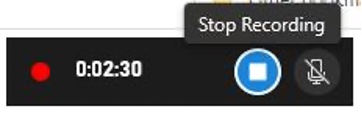
4. Click Stop button on the recording bar or press Windows + Alt + G keys again to stop recording.
5. You can click Game Clip Recorded to check the recorded video.
Method 2: Record A Webinar Using A Screen Recorder (Recommended)
Although the Windows’s built-in screen recording tool is easy to use, it has limitations, such as the fact that you can not choose the recording area freely and there are recording delay conditions.
Compared with the built-in Game Bar, the iTop Screen Recorder, which specializes in webinar recording with the most needed features, is more powerful and stable. As a multi-function screen recorder, you can use it to record webinars without limitations.
iTop Screen Recorder has an average of 8% CPU utilization, lowing the performance impact to the minimum. In addition, it can record videos in a higher resolution (4K-quality) with multiple output formats to choose from.
Benefits of iTop Screen Recorder
- Capture webinar screen flexibly with no recording time limits
- Record 1080p HD/4K webinar videos smoothly with no lagging
- Record audio, video, and webcam on various webinar platforms
- Upload your webinar recordings to the cloud storage synchronously
- Support schedule recording and run auto-ending recordings as per your needs
Now, let’s take a look at how to record a webinar with this powerful recording tool.
How to record webinars with iTop Screen Recorder
1. Download and install iTop Screen Recorder on your PC, then run it.
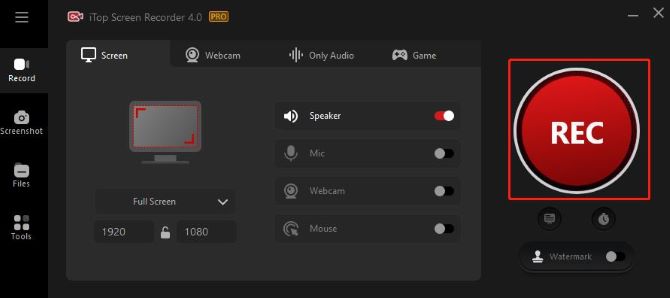
2. Click Full Screen to select recording area. You can record part of a screen, full screen, a window, or a region in fixed ratio.
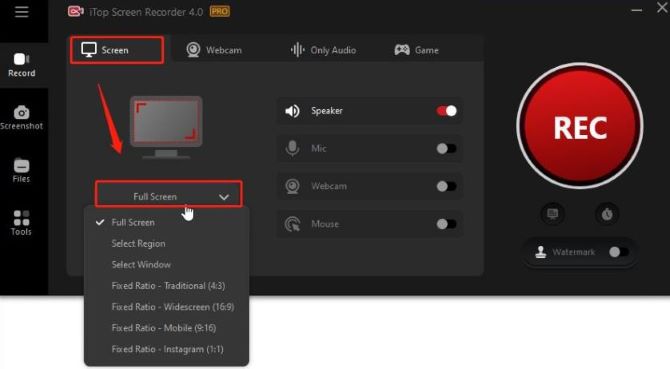
3. Turn on Speaker to record webinar video with audio.

4. Open the webinar you want to record. After that, click on REC button to start recording.
5. A control bar will appear on the screen. Click Stop (the Red square-shaped) button to stop recording webinar whenever you want.

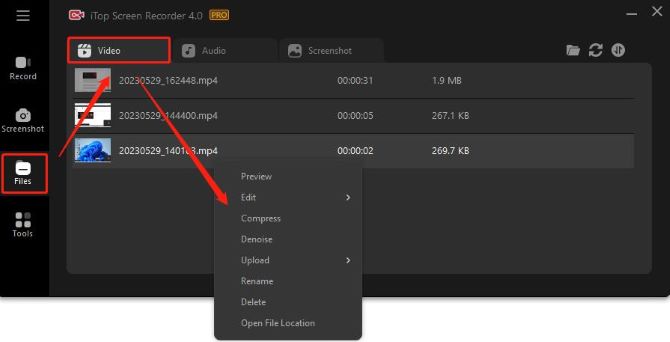
6. The recorded video will be automatically listed in Files > Video. You can play, edit, upload it immediately.
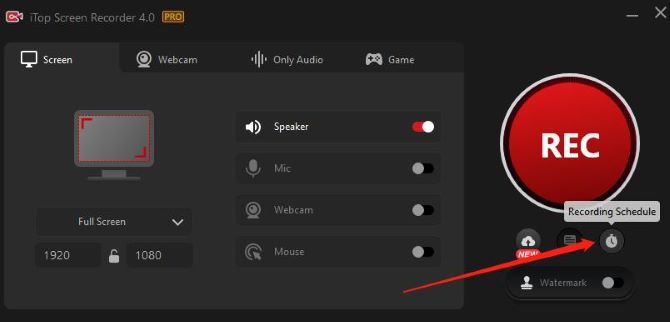
If you want to catch the webinar on time, you can use the Recording Schedule feature to set the exact time and date you would like to start recording a webinar. Here’s how to do it:
1. Click the Recording Schedule button from the main interface.
2. Click Add to create your recording schedule with its name, start and end time, and more, then click Add to apply the settings.
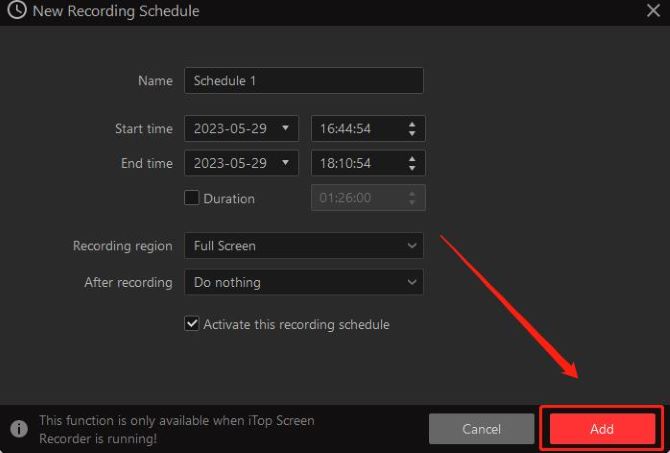
Note: This feature is only available when iTop Screen Recorder is running.
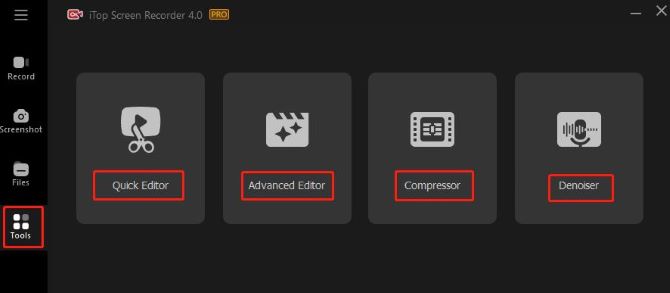
In addition, iTop Screen Recorder builds in more advanced tools for enhancement, such as Quick Editor, Advanced Editor, Compressor and Denoiser to help you process the webinar recordings for getting better effects.
Method 3: Recording Webinar via QuickTime Player (Mac)
For Mac users, QuickTime player can be a priority when you need to record a webinar, and you don’t need to download any other software for screen recording. It also supports capturing the screen and make easy editing.
However, a major drawback of the QuickTime player is that it only allows users to capture external sound from their microphones and doesn’t support internal audio on Mac. To get around this, please refer to how to screen record on Mac with audio.
How to record Webinar with QuickTime Player on Mac
1. Launch QuickTime Player by searching from Launchpad.
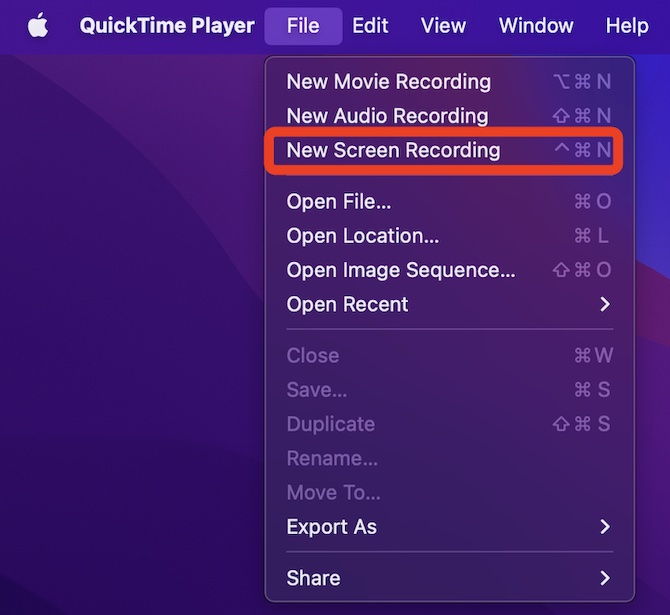
2. Click File > New Screen Recording at top of the screen. A toolbar will appear at the bottom of the screen.
3. Choose from Record Entire Screen and Record Selected Portion from the toolbar using the draggable window.

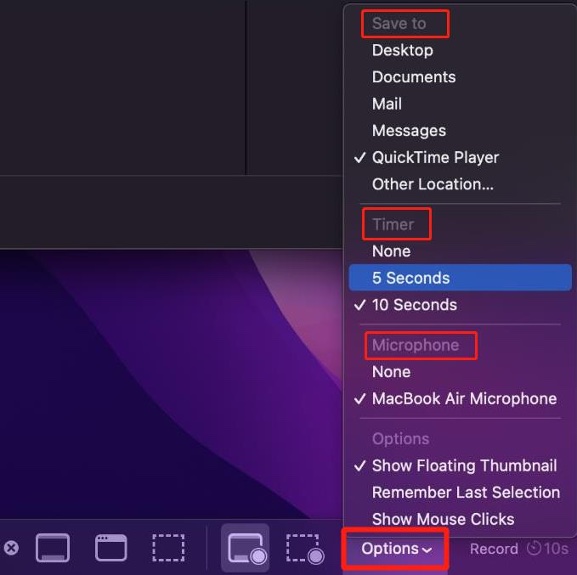
4. On the toolbar, click Options. Select the built-in microphone and choose the location where you want to save the video. If you want to have a delay for recording, select a 5-second or 10-second timer.
5. When you are get ready to record the webinar, click the Record button.

6. Click the Stop button on the menu bar to finish recording and then the recorded video will pop up.

Method 4: Record Webinars with Built-in Screen Recorder on iPhone
Using the built-in screen recording tool is the easiest way to record a webinar on iPhone. This tool makes it easy to handle screen recording, including recording a webinar.
To recording webinar with it, follow the steps below:
1. On your iPhone, swipe up from the bottom edge of any screen.
2. Press the Record button.
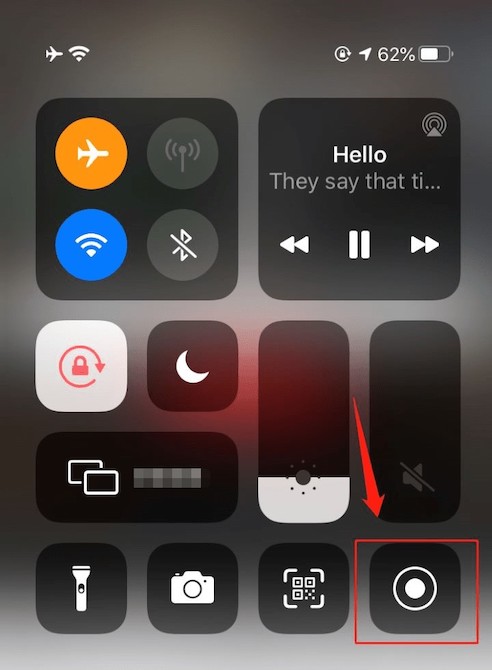
3. Hold down the Record button and you can choose whether to put the microphone on.
4. Tap Start Recording to begin recording a webinar.
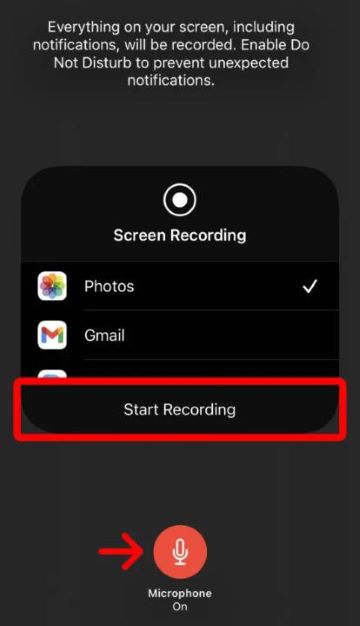
5. Tap the red status bar of the screen and tap Stop to end the recording.
Method 5: Record Webinars with Built-in Screen Recorder on Android
Your Android device also offers an easy built-in screen recording feature for your convenience. Follow the steps below to record your screen during a webinar using the built-in screen recorder:
1. Pull down the notification bar from the top of the screen to view your quick settings.
2. Find the Screen Record icon, and tap on it.
3. Confirm your desire to record the media sound, then click Start recording.
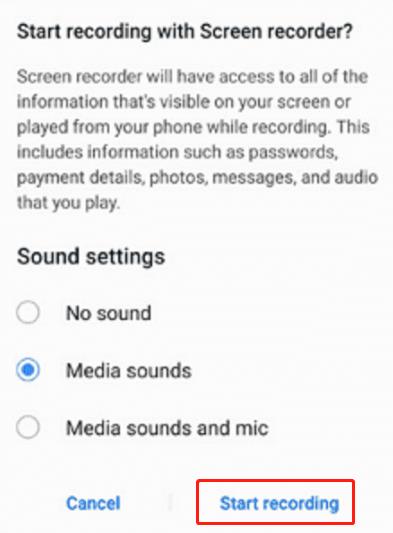
4. Tap the Stop button if finished and you can find the video in your phone gallery.
FAQs about Recording Webinar on Any Device
A: Here are some practical tips for recording webinars: test recording setup; ensure stable internet connection; select a reliable recording software; check the audio levels, video quality, save the recording immediately and create a backup copy.
A: Yes, you can record a webinar you are watching on your computer. There are several ways to do this, depending on the device you are using. Here are some general steps: choose a screen recording app, open the app you want to use to record, start recording, and save the recording.
A: Yes, you can record a webinar you are watching on your computer. There are several ways to do this, depending on the device you are using. Here are some general steps: choose a screen recording app, open the app you want to use to record, start recording, and save the recording.
A: Because Zoom has a built-in screen recorder, you can record the webinar in Zoom directly as the host. However, as a participant, you will need to ask the host for permission before recording. If not, you can try iTop Screen Recorder or the other third-party screen recorder to record webinar on Zoom.
A: Some examples of the best screen recording software that can be used to record webinars include Xbox Game Bar, OBS Studio, iTop Screen Recorder, Movavi Screen Recorder, and QuickTime Player (for Mac).