For many people, you may find your WIFI or Ethernet network is slow on Windows 10. Apart from the hardware or software issues on your PC, it may be due to that fact that you set your network as Public carelessly the first time you connect to the internet.
To help you change the network location to private, this post would introduce some effective ways.
Contents:
What are the differences between Public and Private Network?
How to Change Network Type from Public to Private?
What are the differences between Public and Private Network?
Why should you change the Public network to Private network on Windows 10?
As they have advantages and disadvantages accordingly. Now you might as well know more about their differences.
PublicNetwork, when your PC is using network Public some public places, such as Hotel or Airport. It means your local network is shared with anyone in this world. And the firmware on your computer has restrictive right to protect the system. Thus, in this network type, you are leaving your PC at risk. Furthermore, this Public network option is set by default.
There is much need for you to change the network location to Private from Public.
PrivateNetwork, it is the network shared only in Home or Group. The devices or computers connecting to it are trustable. Therefore, you can see it is much safe when using the Private network location.
How to Change Network Type from Public to Private?
Granted that you have already known the risk using the Public network, you are strongly recommended to make your network Private Windows 10 as soon as possible.
Methods:
- 1: Change Network Type to Private Settings
- 2: Change Network Type In Local Security Policy
- 3: Change Network to Private PowerShell
Method 1: Change Network Type to Private Settings
In other words, to enable network discovery is to set your network Private Windows 10, which can be done in Network settings.
If you are able to make your PC discoverable, you will have also changed your PC to private.
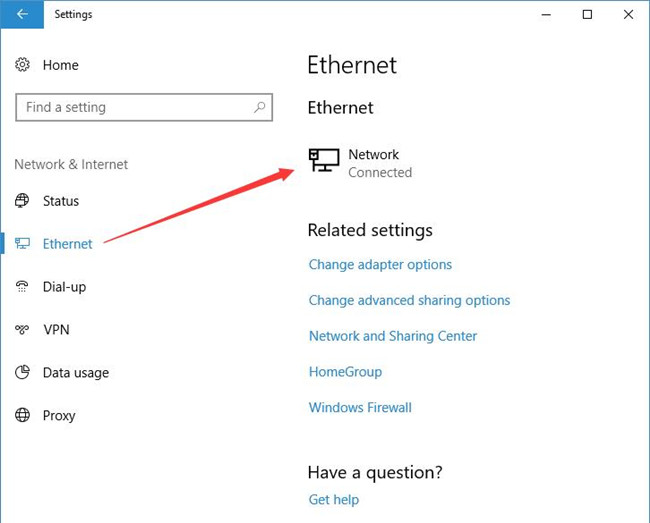
1. Navigate to Network & Internet in Windows settings.
2. Under Ethernet or WI-FI, choose the network connected to your PC.
Here the network is Ethernet, if you are using WIFI, just choose the one you connected.
3. Turn on the option Make this PC discoverable. It is to change to the Private network.
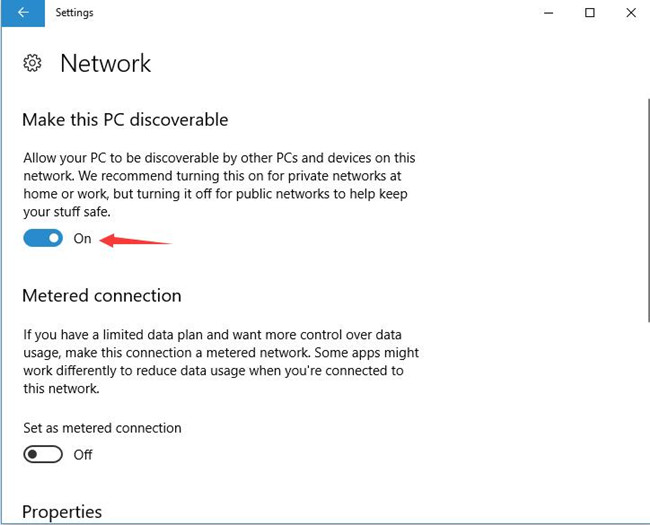
Maybe your network works smoother on Windows 10 since it is Privateand only used by the trusted people.
Method 2: Change Network Type In Local Security Policy
In regards to network location type, it is closely related to the local network security. Consequently, to change Public network to Private network, you can configure something in Local security policy.
1. Click Start and then enter Local Security Policy in the search box. Here in case that you have not signed in Windows 10 as administrator, you are advised to right click the searching result to Run as administrator.
2. In Local Security Policy, on the left pane, choose Network List Manager Policies.
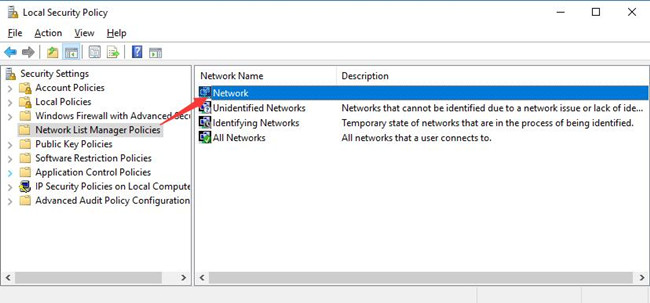
And then under it, on the right pane, you can see the Network.
3. Double click Network, the Network Properties window would come up automatically.
4. In Network Properties, under Network Locations, set the Location type as Privateand then hit Apply and OK orderly.
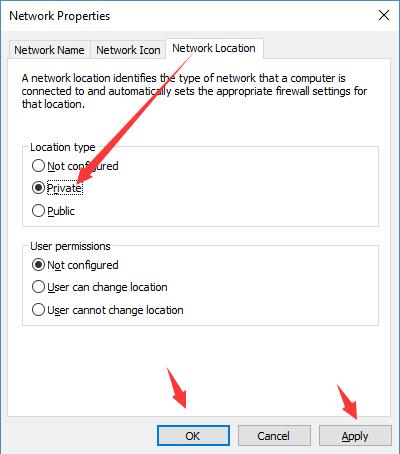
You have just changed the network location to Private from Public Windows 10.
Method 3: Change Network to Private PowerShell
As you have done in command prompt, in Windows PowerShell, you are supposed to run a command to make the network Private instead of Public.
1. Type in PowerShell in the search box and stroke Enter to open it.
Here make sure you have logged in as administrator.
2. In Windows PowerShell, copy and paste the following command and press Enter to activate it.
Get-NetConnectionProfile
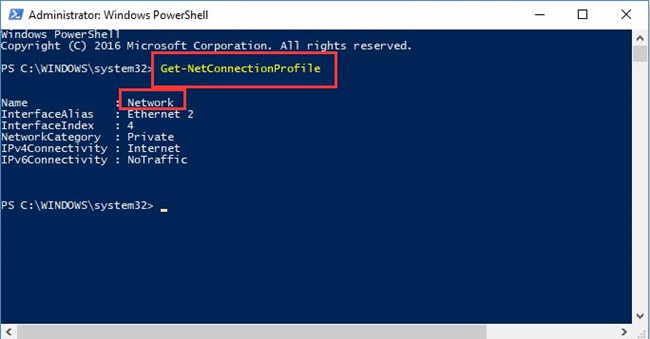
Then you need to memorize the name of the network. In this PC, it is Network.
3. Again in PowerShell, copy the command below and run it.
Set-NetConnectionProfile -Name “Network” -NetworkCategory Private
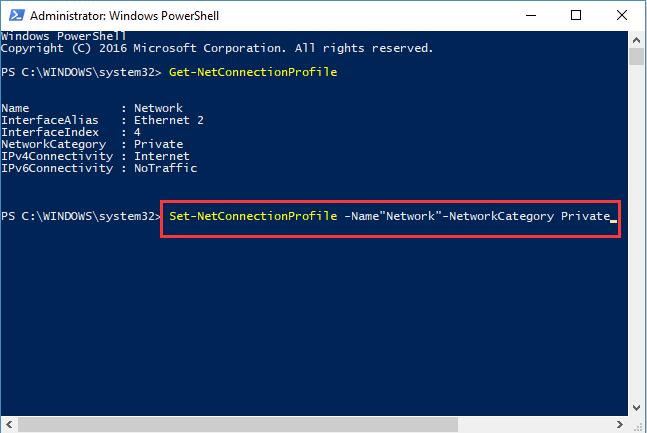
Here it is required that you enter your name to place Network depending on the specific case.
You can set the network to Private from the Public with these commands.
Close the PowerShell to see the difference.
In a nutshell, these ways are all available for you to change the Public network to Private network or to say, to make the network location turn to Private Windows 10.
More Articles:
Fixed: My WIFI Network Not Showing up in the WIFI List on Windows 11, 10, 8, 7
Windows Doesn’t Have a Network Profile for This Device Error: Quick Fixes
Solved: Realtek Network Controller Not Found on Windows 11, 10, 8, and 7