Windows 10 remote assistance is an important remote control program, another one is Windows 10/11 remote desktop connection.
Unlike the desktop connection, the remote assistance mainly provide remote access and remote assistance solutions, help others to solve the computer problems over the Internet. It mainly used in two computers, and the two computers can control the computer to fix the problem. This is different with the Windows 10/11 desktop connection.
Here are the steps to setup the remote assistance on Windows 10.
Setup Remote Assistance Settings
You need to do these things at your pc and the remote pc if you want to create the remote connections between your pc to another pc.
Step 1. Right-click This PC > Properties.
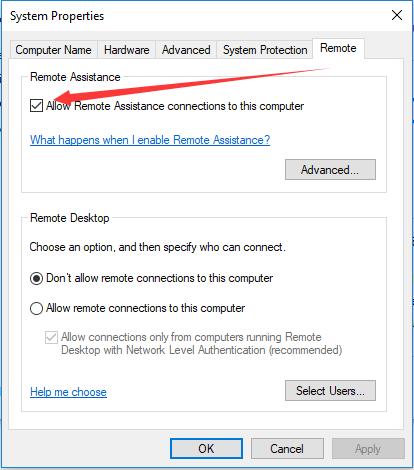
Step 2. Choose Remote settings from the left side.
Step 3. Locate to the Remote tab, and tick Allow Remote Assistance connections to this computer. And Microsoft also provides a link to tell you what will happen after enabling remote assistance. Then click OK.
After the remote assistance settings setup, you can find someone or help someone to fix the windows 10 problem via the remote assistance function.
How to Invite Someone to Assistance You on Windows 10/11
Step 1. Type remote assistance in the search box, and open this option: Invite someone to connect to your PC and help you, or offer to help someone. And you will open the Windows Remote Assistance.
Step 2. There are two options. Choosing the first option: Invite someone you trust to help you.
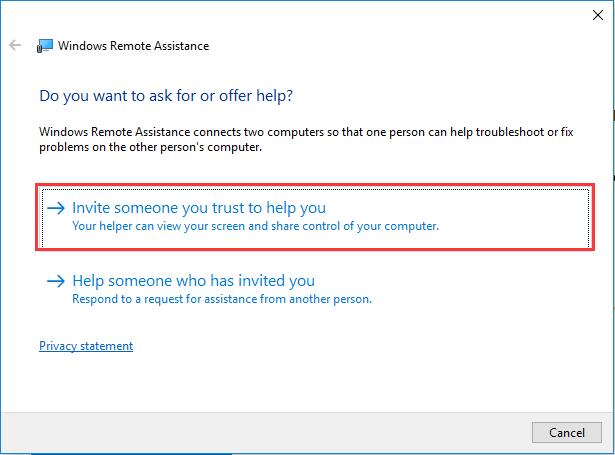
If you want someone to help you, you can choose this option. And your helper can view your screen and share control of your computer. Of course, you can also control your computer.
Step 3. Choose the First one Save this invitation as file.
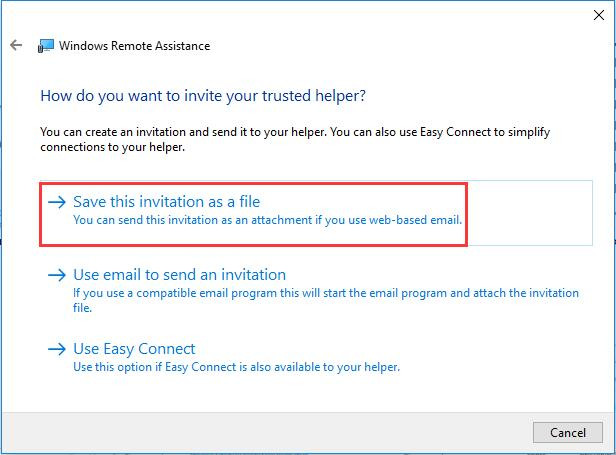
If you are using the remote assistance at the first, the third selection is gray out. You cannot use it. But if you had already created a new remote assistance before, you can choose Use Easy Connect.
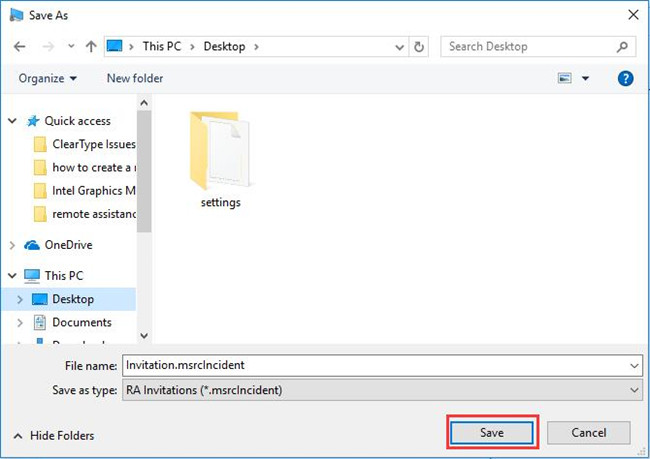
Step 4. There is an important file and a password you need to manage.
1) You can store the file (msrcIncident) to your local disk.
2) Remember the password.
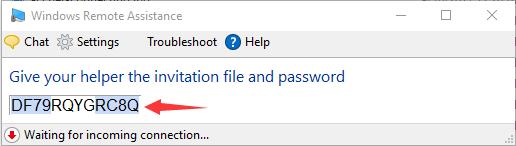
Step 5: Send the downloaded file and password to the remote computer. You can send the RA invitations file via the email, chat tool and other file transfer tools.
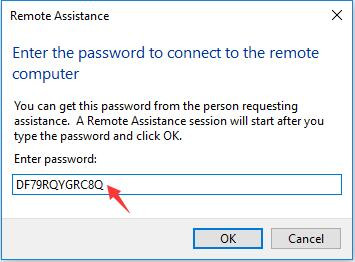
Step 6: In the remote computer, double click to run the Invitation.msrclncident file and type the password. Then click OK.
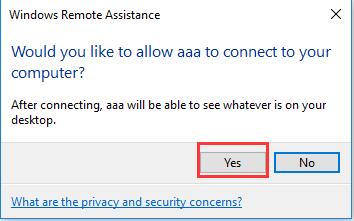
After that in your PC will pops up a window to confirm connection.
Step 7. Click Yes to enable remote computer to see your computer desktop.
Step 8: The remote computer can send Request to Control message to help you fix computer problem.
Of course, the remote assistance provides the chat function. You can type some words directly in the text box, whatever you send or not send, the remote computer can see the words.
Tips: If you want to help others to solve their computer problem, you can choose the second option: Help someone who has invited you.
So using the remote assistance functions on Windows 10, you can build a fast internet connection and fix your computer problems or remote computer problems easily.
More Articles:
Cannot Intall Drivers, no Intel Adapters Are Present in this Computer
Download Marvell Avaster Wireless-AC Network Controller Driver for Surface