If you’ve worked on a Windows PC for a long time, I’m sure you’ve run into a situation where your monitor doesn’t work as expected. At this time, have you ever wondered when your graphics driver crashes, is there a way to reset it manually? Do not worry.
In this post, you will find 7 useful and effective methods to reset your graphics driver and deal with any issues related to a corrupted graphics driver.
# Why You Should Reset Your Graphics Driver
Like all software, your graphics driver can experience glitches and start to fail. When your graphics card fails, you will face a range of visual issues such as screen freezing, crashing, flickering, displaying error messages, or displaying poor graphics quality, resulting in reduced performance.
Resetting the graphics driver can solve these related problems. Windows 10 and 11 are intuitive in these cases, and it resets the driver on their own.
However, these resets often work late, and you may want to manually reset your graphics drivers before Windows 10 and 11 reset themselves. Here are a few of the most practical and easy-to-operate manual reset methods.
# Method 1: Using the Hotkey Combination
The easiest and safest way to reset the graphics driver is to press the Windows Key, plus Shift, Ctrl, and B simultaneously on your Windows 11/10 keyboard.
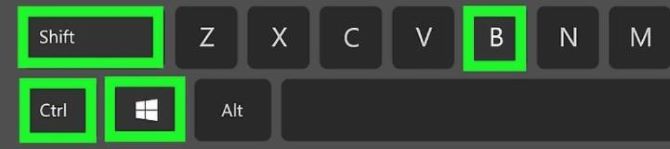
After a beep, the screen will flash quickly, and everything will be back to normal in no time. The keyboard shortcut resets the graphics driver without closing other programs. So if the freeze occurs while you’re playing a video game or working, this technique will help fix the problem without disrupting your progress.
It just restarts the driver and any custom settings remain the same and everything should work as before. If it doesn’t work for you, make sure to check that your Windows key isn’t disabled.
# Method 2: Update Your Graphics Driver
If the graphics driver is misbehaving, it is likely that your driver is corrupted. You will have to reinstall the driver or update to the latest version. Instead of uninstalling the driver, you can update it and see if that fixes the problem.
Driver Booster is a driver update tool that can automatically identify and update all the drivers you need. You don’t need to know exactly what system your computer is running or the information about the driver, and you don’t need to worry about installing security. Driver Booster handles it all for you.
Step 1: Download, install and run Driver Booster on Windows 11 or Windows 10.
Step 2: Click the icon Scan.

Driver Booster will detect all the drivers on your PC including those that can not be detected by Device Manager.
Step 3: After scanning, you can check Display adapters and then click the icon Update next to it to update graphics driver automatically.

# Method 3: Using Powershell to Reset Graphics Driver
You can also use Powershell to reset the graphics driver If you prefer to use the command. It allows you to flash external drivers separately from the built-in graphics device drivers.
Follow the steps listed below:
Step 1: First, press Windows + X and select Windows PowerShell (Admin).
Step 2: Type the following command and press Enter.
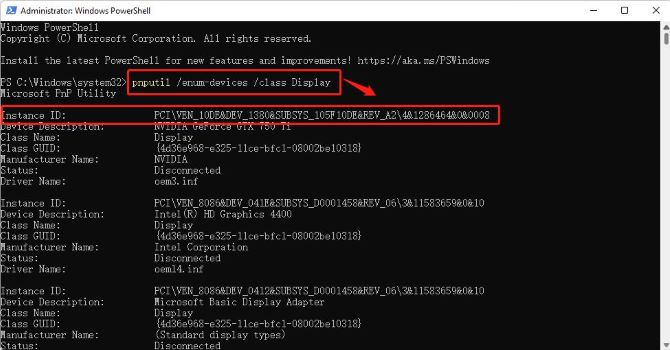
pnputil /enum-devices /class Display
Step 3: It will show the details of your graphics driver information and your instance ID.
Step 4: Copy your Instance ID. Then, enter the command as follows:
pnputil /restart-device Paste the Instance ID
As an example, on my PC, the command is
pnputil /restart-device PCI\VEN_10DE&DEV_1380&SUBSYS_105F10DE&REV_A2\4&1286464&0&0008
# Method 4: Using Task Manager to Restart Graphics Driver
You can also restart your external or dedicated graphics driver via the task manager. If you kill the driver process, Windows will automatically restart it. Repeat this for all AMD or NVIDIA tasks, which will reset your graphics driver. Here’s how to end the graphics driver process in Task Manager:
Step 1: Right-click the Start icon and choose Task Manager to launch the Task Manager panel.
Step 2: In the Processes tab, scroll down to look for any AMD or NVIDIA processes.
Step 3: Right-click on it and select End task.
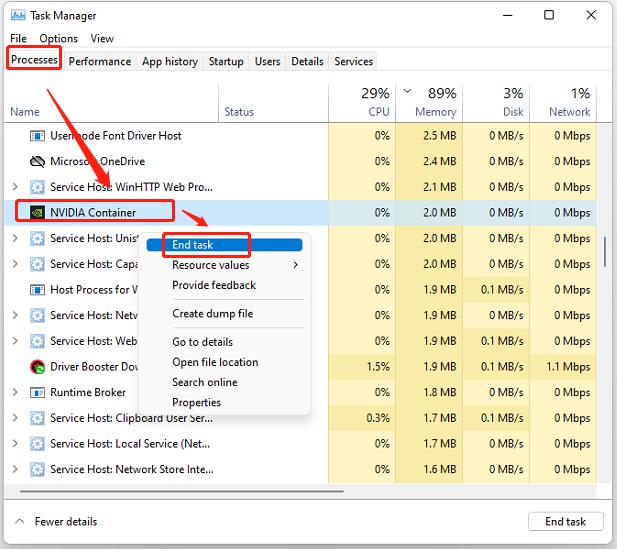
Step 4: Repeat for all AMD or NVIDIA tasks. This will reset your graphics driver. Your screen may flash or flicker when your drivers reset.
# Method 5: Disabling and Enabling Your Graphics Drivers
If you don’t want to reinstall your graphics device, you can also try disabling and enabling the graphics driver on your PC using Device Manager to fix the flickering issue on your computer, as follows:
Step 1: Right-click the Start icon and choose Device Manager to launch the Device Manager panel.
Step 2: Expand Display Adapters.
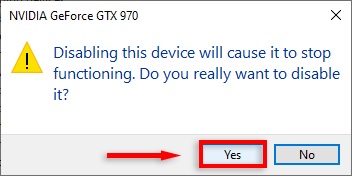
Step 3: Right-click your graphics device and click Disable device, which disables your graphics driver.
Step 4: In the pop-up window, select Yes.
Step 5: Restart your PC.
Step 6: Open Device Manager again and also expand Display adapters.
Step 7: Right-click your graphics driver and click Enable device.

After a few seconds, your driver should be reset, and all driver issues should be resolved. If not, go to the next method.
# Method 6: Uninstalling and Reinstalling Your Drivers
If disabling and enabling your graphics driver still doesn’t work, then your graphics driver may be corrupt and a simple reset may not easily fix your problems. A great and useful way to make sure a broken driver doesn’t cause more problems is to uninstall and reinstall it.
Step 1: Select Device Manager by right-clicking the Start icon.
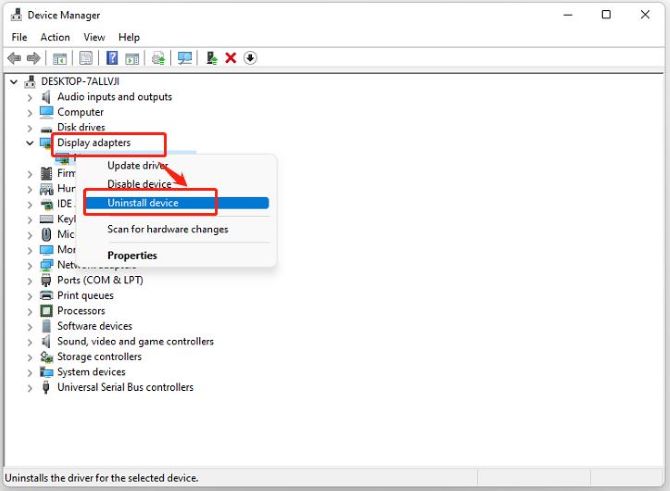
Step 2: Expand Display Adapters on the device manager panel.
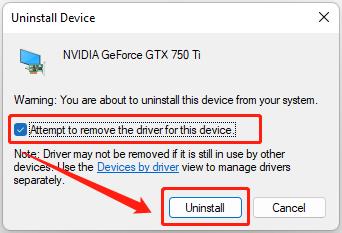
Step 3: Right-click your graphics card and click Uninstall device.
Step 4: Tick Attempt to remove the driver for this device, and click Uninstall.
Step 5: Go to Control Panel > Programs and Features, and find the related software of your graphics driver to uninstall them one by one.
Step 6: After uninstalling it, you can visit the manufacturer’s site and download the latest drivers from there.
# Method 7: Restoring Your Graphics Drivers to the Default Settings
All graphics devices have their own settings interface through which you can set the reset to default. The method is different for different devices. The following steps show the process for INTEL, NVIDIA, and AMD graphics drivers respectively:
For Intel Graphics Drivers:
Step 1: Right-click on your Desktop and select Graphics Properties.

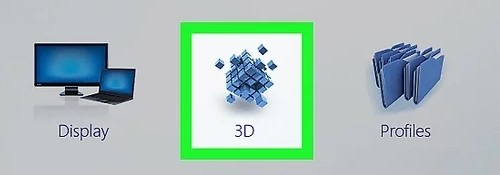
Step 2: Click 3D at the bottom of the app on the left.
Step 3: Then select Restore Defaults.
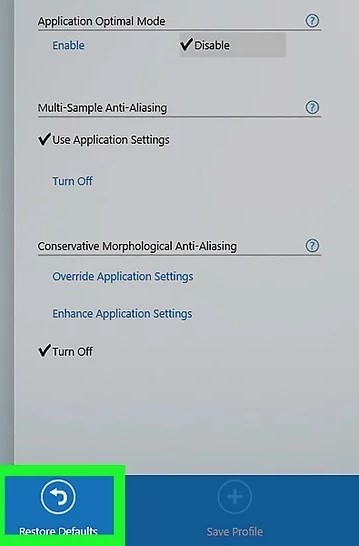
Tips:
If it grayed out, you already have default settings on your driver.
Step 4: Click Apply and close the settings.
Step 5: Then, restart your PC.
For NVIDIA Graphics Drivers:
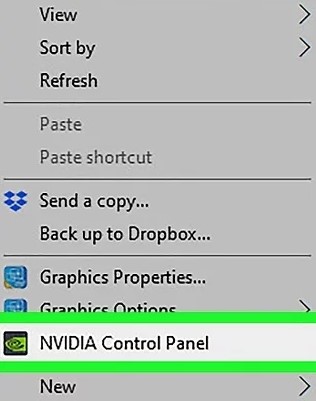
Step 1: Right-click on your Desktop and select NVIDIA Control Panel.
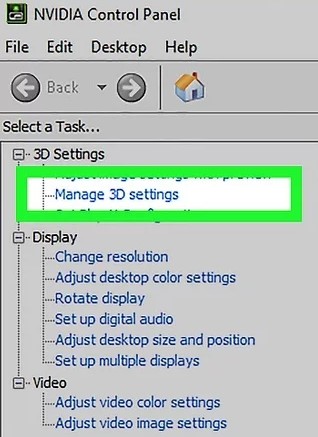
Step 2: Go to Manage 3D settings.
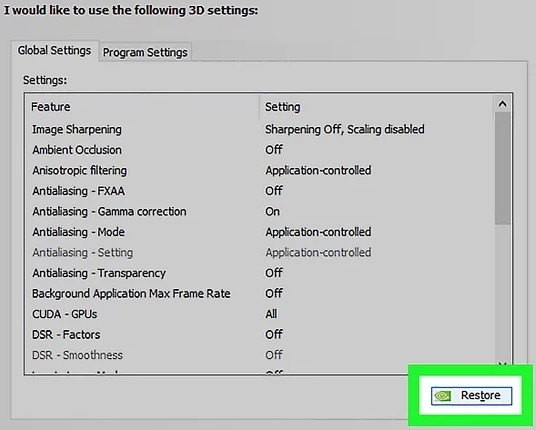
Step 3: Under Global Settings, click on Restore.
Step 4: Then, restart your PC.
For AMD Graphics Drivers:
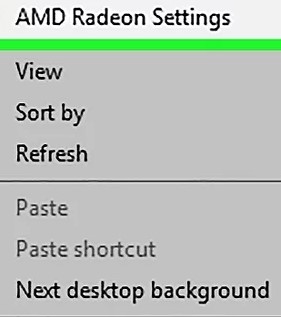
Step 1: Right-click on your Desktop and select AMD Radeon Settings.
Step 2: Go to the Preference tab.

Step 3: Here, select Restore Factory Defaults.
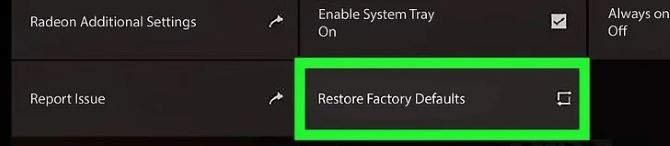
Step 4: Close the settings and restart your PC.
That’s all for how to reset or restart the graphics driver. Hope this post helps you. After all, the graphics driver is crucial because it plays an important role in ensuring reliable performance. So when it fails, your computer display can have a series of problems. Now you know how to reset the graphics driver on Windows 10/11 to fix these problems.
More Articles:
Download Intel HD Graphics 4600 Drivers for Windows 10, 8, 7