Problem with playback device can occur to Skype either when you make calls or receive calls. In some situations, you even have got the Skype error message Skype can’t access sound card, and you failed to use Skype to video, audio on Windows 10.
For some users who have no idea about this problem with playback devices, it is wise for you to move forward to fix this Skype issue.
Why Does Problem with Playback Device in Skype Come to you on Windows 10
The reason why the Skype call failed and a problem with your playback device happened to you can be divided into the following parts:
1. Your audio device driver is outdated or problematic along with Windows 10 updates.
2. Something went wrong with the playback device settings on your PC, thus making you face a problem with playback device on Skype in Windows 10.
3. Skype application has some issues in itself.
To figure out exactly what causes the Skype can’t access your sound card, you are supposed to try the ways below to troubleshoot the Skype playback device error Windows 10.
How to Fix Windows 10 Skype Problem with Playback Devices?
On the basis of the causes of the Skype playback device issue, you may as well take the following targeted ways. There is always a method able to remove the Skype call failed problem with the playback device.
Solutions:
1: Run Playing Audio Troubleshooter
4: Check Skype Playback Device
5: Disable and Re-enable Microphone on Windows 10
6: Uninstall and Reinstall Skype Application
Solution 1: Run Playing Audio Troubleshooter
If your Skype cannot access sound card or Skype playback devices error occurs, the first thing you should do is running playing audio troubleshooter. Using the automatic tool to detect the call failed problem and fix it step by step.
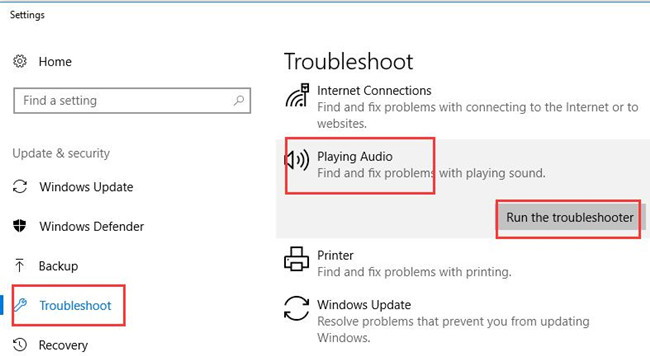
1. Go to: Start > Settings > Update & Security.
2. Locate the Troubleshoot tab, find the Playing audio option, then click Run the troubleshooter.
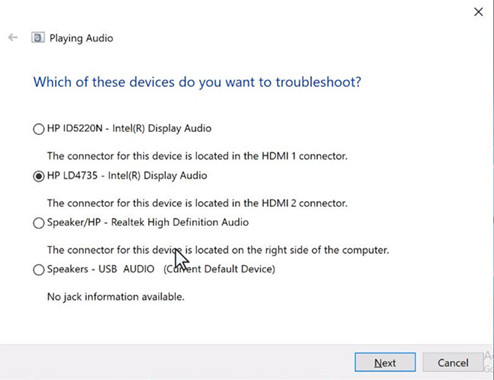
3. In the device window, choose the Skype microphone which cannot access the coming out sound, and then click Next.
When the playing audio process is finished, you can try to call by Skype again to test if playback device error disappeared.
Solution 2: Uninstall Audio Driver
Now that the sound card failed to function in Skype and led to Skype problem with playback device Windows 10, there is much need for you to manage to uninstall your audio sound driver and the get the latest one for your computer.
1. Open Device Manager.
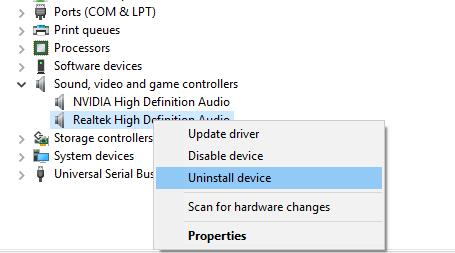
2. In Device Manager, expand Sound, video and game controllers and then right click the audio driver on your PC to Uninstall device.
3. Then check the box of Delete the driver software for this device and hit Uninstall as well.
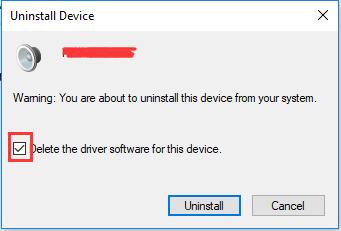
That will uninstall the audio driver on your PC.
After that, you can navigate to the official site of the audio device, Realtek or whatever to download the latest audio driver for Windows 10.
Solution 3: Update the Audio Driver
If you have Skype problem with playback device and the Skype microphone does not work, you may try to update the audio driver to make the Skype access the sound card.
For updating the audio driver, find the audio type in device manager and download it from its official site, then install it step by step.
If you have limited knowledge about downloading the drivers by yourself, you can use Driver Booster to help you. Driver Booster is a powerful driver updating software. As the top ten reviews top 1 driver update software, it can detect most of the outdated and missing drivers on your computer and update them automatically.
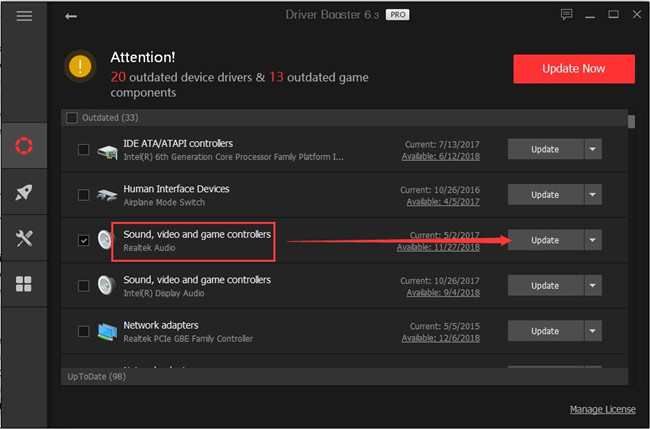
1. Download, install and run Driver Booster on your PC.
2. Click Scan.

3. Click Update. Find the audio devices and click Update.
Once you installed the driver, you can reopen the Skype application and attempt to make calls again. This time, you will be able to call using Skype without problem with playback device on Windows 10.
Solution 4: Check Skype Playback Device
Another potential culprit of the problem with playback device in Skype consists in the erroneous playback device settings in the Skype app.
Therefore, you would better make sure the all the related settings are correct and won’t give rise to Skype playback device not working on Windows 10.
1. Open Skype application.
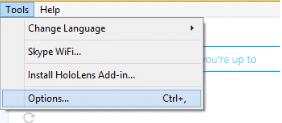
2. In the top right corner of Skype, click Tools and then Options.
3. In Options window, Under Audio settings, on the right pane, locate Speakers and then expand it to select the Speaker you are using.
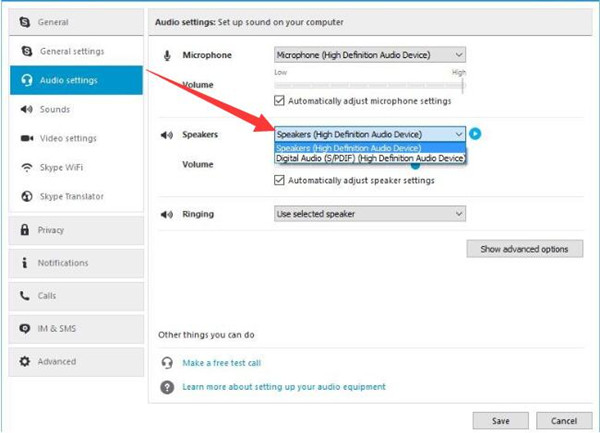
In this way, you will have set the playback device for your Skype on Windows 10. To further ascertain whether you have made the correct playback device, you can try to click the blue icon on the right of Speakers.
Here according to the reports from many users, there is also a setting called Automatically adjust speaker settings. It seems that it can also result in the problem for Skype. Therefore, you should uncheck the box of Automatically adjust speaker settings if you would like to deal with the Skype call failed issue more effectively.
For the time being, call failed as Skype problem with playback device pops up will disappear from Windows 10.
Solution 5: Disable and Re-enable Microphone on Windows 10
Apart from setting the Microphone as the playback device in Skype, you are also qualified to disable and then enable the Microphone again on your PC to check this audio error Windows 10.
It is suggestible that you attempt to disable your playback device in Sound settings.
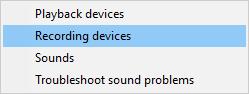
1. Right click the Sound icon in the right corner of your Desktop and then select Recording devices from the list.
2. In Sound window, right click the blank place and then tick the box of Show Disabled Devices.
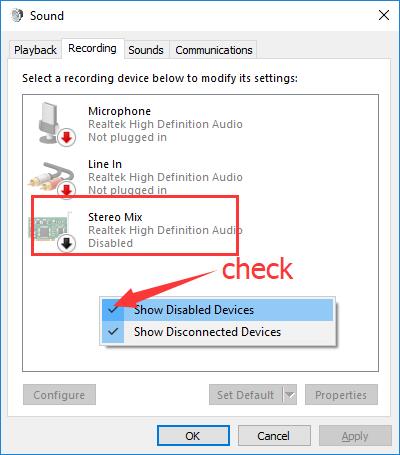
It is to make the disabled devices come up in order to fix playback device error on Windows 10. You can see the Stereo Mix appears as the disabled device.
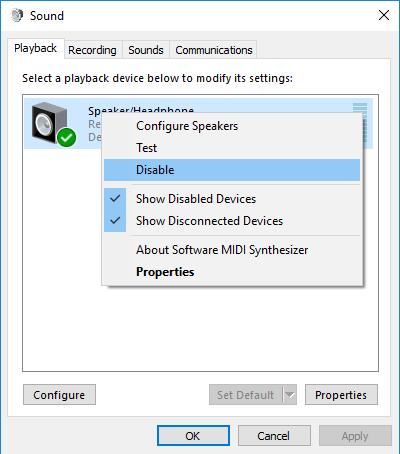
3. Then right click the default audio device to Disable it.
4. After that, right click Microphone to Enable it.
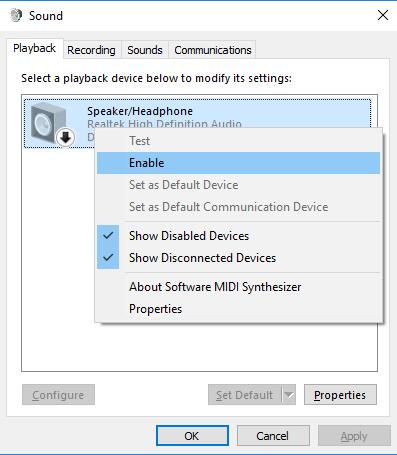
Via re-enabling the default device on your PC, you are free to make and receive calls from Skype. There will be no problem with playback device Windows 10 Skype.
Solution 6: Uninstall and Reinstall Skype Application
Next, if your Skype app itself goes wrong unwittingly, it is predictable that your Skype keeps saying the problem with playback device on Windows 10.
Under this circumstance, you are prompted to uninstall Skype in Control Panel and then update the Skype online.
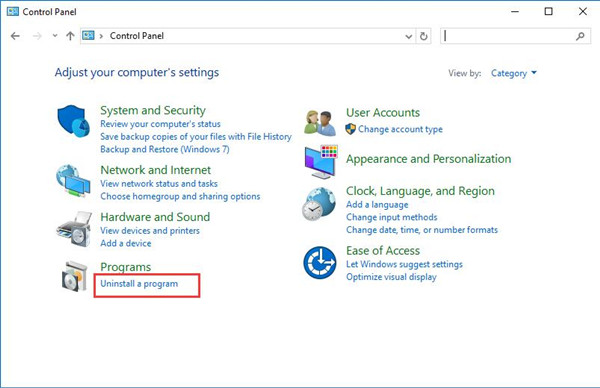
1. Go to Control Panel.
2. Choose to View by Category and then find out Uninstall a program under Programs.
3. In Programs and Features window, locate the Skype and right click it to Uninstall it.
4. Restart your PC to take effect.
At this moment, spare no efforts to update your Skype for Windows 10 to make sure it meets the requirements of the playback devices.
Upon the time you get the new Skype on your PC, it is likely you are able to call as you wish with the playback devices.
To summarize, in terms of this Skype problem with playback device Windows 7, Windows 8, and Windows 10, you are supposed to fix it from the perspective of the audio driver, playback device setting, and the Skype application itself. You can easily resolve your Skype call failed error if you can obey the ways earnestly.
More Articles:
Solved: RAVBg64.exe wants to use Skype