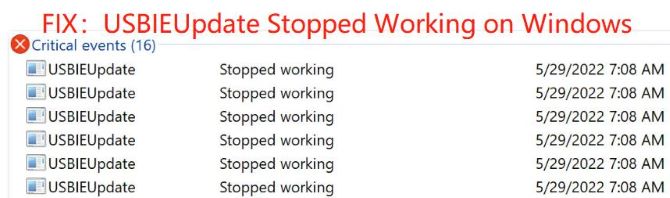
Some users have complained that the “USBIEUpdate stopped working” error often appears in Windows Reliability Monitor on startup. But everything seems to be fine and all USB devices and ports are working fine. Did you also encounter this error and feel helpless about it?
If you, too, are encountering this type of error and looking for a solution, you’re in the right place. The 4 solutions introduced in this article might help you fix this issue effectively.
Why did USBIEUpdate stop working on Windows 11/10?
USBIEUpdate is part of the UsbUpdate.exe application, a part of a Dell tool called Dell Support Assistant that may be installed on your Windows 11/10 computer. However, when you use this tool, occasionally you will get the “USBIEUpdate.exe Stopped Working” error. We analyzed user reports and summarized the following common causes of this error:
- Software Conflict caused by Dell Support Assistant: It turns out that this error is caused by a glitch in the operating system due to Dell support software apparently interfering with kernel processes.
- Outdated Windows Defender Signatures: Outdated Windows Defender signatures force these dangerous “USBIEUpdate.exe has stopped working” issues on your Operating System.
- Corrupted system files – It turns out that some type of system file corruption may have been indirectly caused by recent system changes, producing these critical errors on every boot.
Now that we have discussed all the potential causes of this “USBIEUpdate stop working on Windows 11/10” error, let us now follow the solutions below to successfully resolve this issue.
Solution 1: Update Dell Support Assistant
Most of the time, Dell laptop/desktop users face this “USBIEUpdate.exe Stopped Working” issue. Also, the reason behind this issue is Dell Support Assistant. While Dell Support Assistant is a great tool for keeping your Dell laptop or PC updated and running efficiently, it can cause trouble if the tool is out of date.
Therefore, if you use the Dell Support Assistant tool, you should be running the latest version of it. Updating it may help you to avoid this issue. The best way to update or get the latest version of Support Assistant is to visit the official website.
Proceed as follows:
Step 1: Go to the Support page for downloading the latest version of Dell Support Assistant.
Step 2: Under the Promoted Content, click the icon SupportAssist for Home PCs.

Step 3: Click the Download Now icon to download the latest version of Dell Support Assistant.

SupportAssist is an intelligent technology that works on your PC to keep it running like new by removing viruses, detecting issues, optimizing settings, and telling you when an update is required. SupportAssist technology also provides proactive and predictive capabilities to maximize the uptime of an organization’s Dell desktop and laptop fleet.
Solution 2: Uninstall and Reinstall Dell Support Assistant
If you are still facing the same issue even after updating Dell SupportAssist Tool, then it is best to uninstall this SupportAssist Tool from your Windows 11/10 computer. Because there might be some strange conflict between Windows 11 and the Dell Support Center or Dell Support Assistant program.
It turns out that Dell support software was responsible for the bug, which allegedly interfered with kernel processes and crashed the operating system.
Currently, uninstalling and reinstalling (if it is necessary for you) the Dell Support program on a Windows 11 Dell PC is the only way to get out of this serious trouble.
Step 1: Click the Start icon and then input Control Panel on the search box.
Step 2: Click Control Panel to open it.
Step 3: Choose Programs and Features.
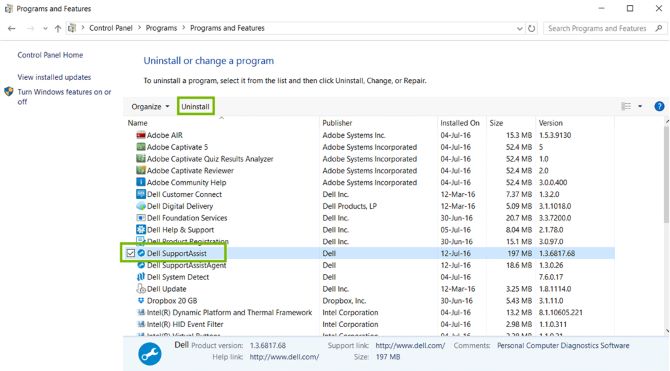
Step 4: In the Programs and Features window, Select Dell SupportAssist and click Uninstall.
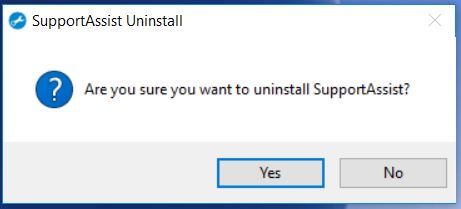
Step 5: In the SupportAssist Uninstall prompt, Click Yes to uninstall.
Step 6: The SupportAssist Uninstall window displays, and click Close when the installing process finishes.
Step 7: And follow Solution 1 above to reinstall the latest version of the SupportAssist app if necessary.
Solution 3: Make sure Microsoft Defender Antivirus is updated
Outdated programs, especially security tools can cause different types of issues in the user system. So, if you are using an outdated version of Microsoft Defender Antivirus (formerly known as Windows Defender), it can force your Operating System to generate these serious “USBIEUpdate.exe has stopped working” issues.
If so, then you should make sure your antivirus tool is updated. The step-by-step instruction is listed as follows:
Step 1: Right-click the Start icon and then choose the Settings option.
Step 2: Choose Privacy & security on the left panel.
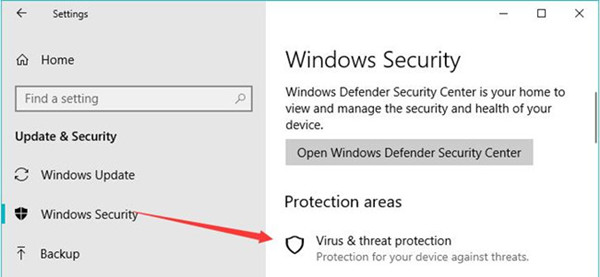
Step 3: On the right panel, click the Windows Security option.
Step 4: Under Protection areas, click Virus & threat protection choice.
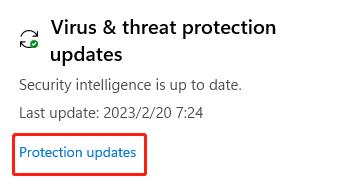
Step 5: Scroll down and find Virus & threat protection updates.
Step 6: Click the option Protection updates.
Step 7: Under Security intelligence, click Check for updates.
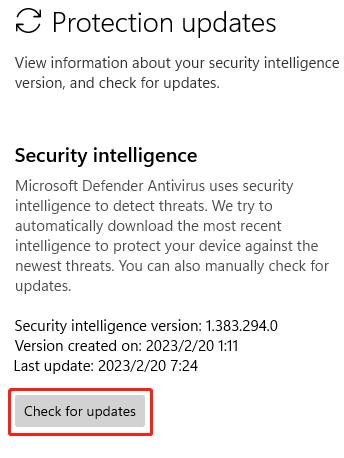
Step 8: Wait and follow the on-screen instruction to finish the updating process.
Solution 4: Run System Restore
If you’ve tried all the techniques listed above to fix this error but you still haven’t resolved the error, you can use the System Restore feature of Microsoft Windows to restore your computer to an earlier time. This has helped some users resolve issues.
This can be used to repair broken systems or other issues. Then check to see if your problem is resolved. If not, you need to perform a system restore using another restore point. This can be time-consuming but helps to resolve the issue.
Step 1: To access the Run command, press the Windows key + R.
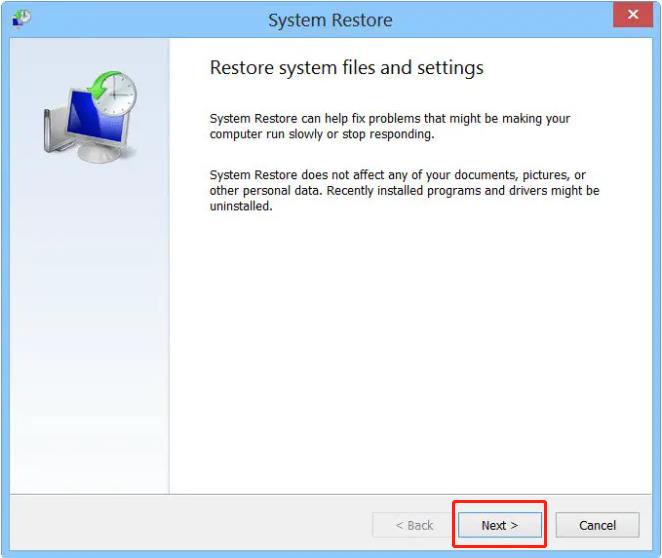
Step 2: Type rstrui.exe and hit Enter to open System Restore.
Step 3: Click the Next button.
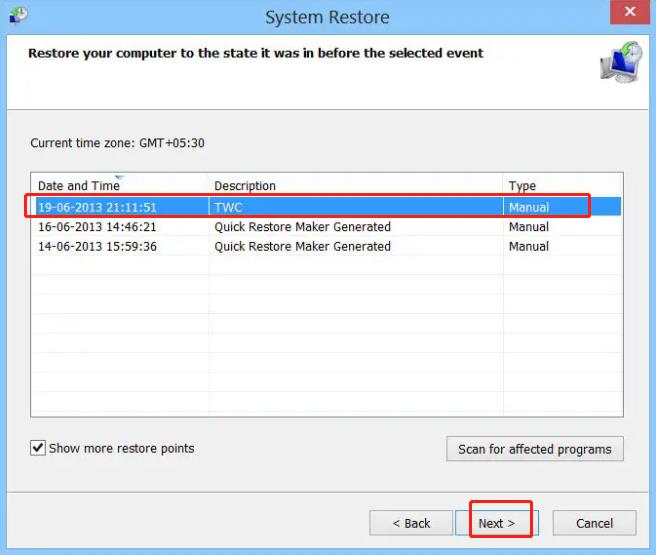
Step 4: Select a Restore Point, which you want to restore your computer to, and click Next again.
Step 5: Review the details and confirm them. Click on Finish.
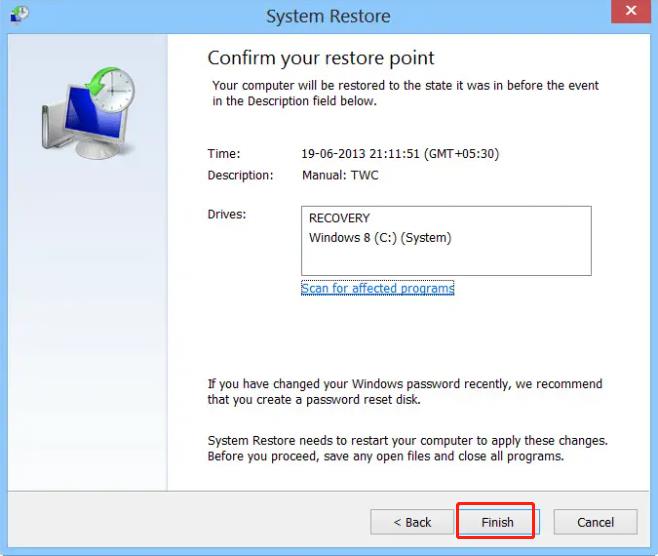
Step 6: You will be asked to confirm. Click Yes. This will start the process.
Windows will access relevant files and prepare your computer to be restored. It will then restart. On a restart, you will see the following message, confirming that your computer has been successfully restored.
Conclusion:
That’s all there is to it. Hope after reading this post, you can successfully resolve USBIEUpdate stopped working error on Windows 11/10 computers with these 4 solutions.
More Articles:
Download Apple Mobile Device USB Driver for Windows 10/11