Steam connection error can happen to you when you wish to start the Steam client on Windows 10 or Windows 11. Your Steam could not connect to Steam network suddenly.
As the warning message reminds you when Steam won’t connect to the internet, you can retry connection or start in offline mode, but to no avail for you.
That is why you turn to this post to fix this Steam not connecting issue on Windows 10 or Windows 11.
Contents:
- Why Cannot I Connect to Steam?
- How to Fix Steam No Connection Windows 10/11?
- Bonus Tip: Run Steam Games in Game Mode
Why Cannot I Connect to Steam?
The reasons for Steam connection issues are simple. It is either due to your network driver corruption or incompatibility or network problem on your PC.
So let’s get started to troubleshoot the Steam error for Windows 10.
How to Fix Steam No Connection on Windows 10/11?
You are able to solve this Steam could not connect to Steam network issue by fixing the problem related to both the Windows 10 network driver and network connection.
Solutions:
- 1: Update Network Drivers To Solve Steam Connection Issue
- 2: Check Network Connection
- 3: Change Network Protocol
- 4: Reinstall Steam To Fix Steam Not Connecting
Solution 1: Update Network Drivers To Solve Steam Connection Issue
To expel Steam can’t connect to the internet from Windows 10, the first and foremost thing you need to do is downloading the most updated network drivers.
Only in this way will the Steam network error disappear and are you qualified to enjoy your games in Steam.
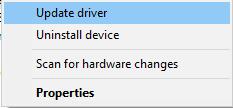
You can decide to go to Device Manager > Network adapters > the Network driver > Update driver to finish the task.
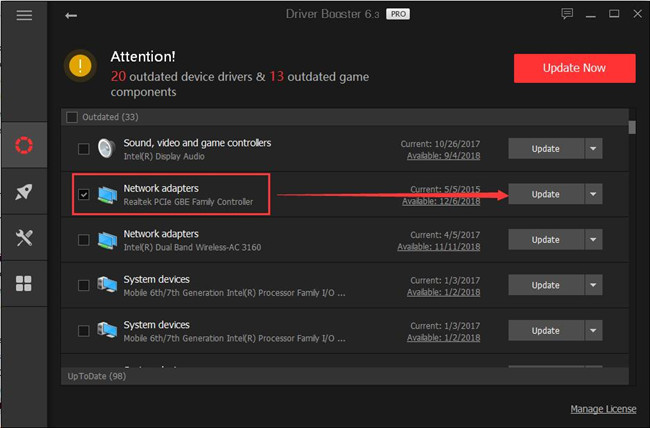
But it is more reliable for you to make use of Driver Booster to get the latest network driver for you as it is more capable of searching for the driver quickly.
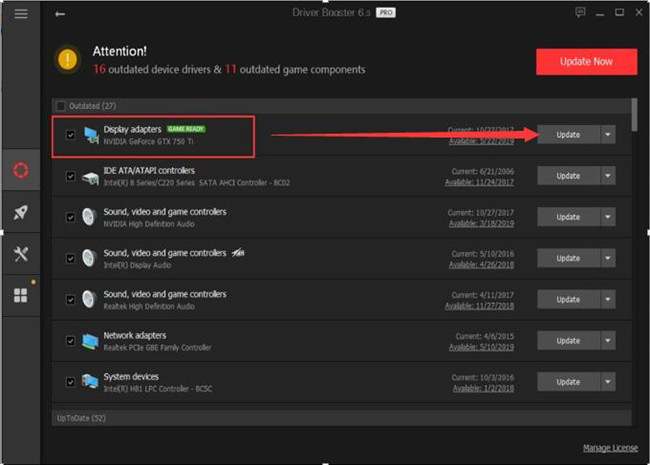
1. Download, install and run Driver Booster on your computer.
2. Follow the on-screen instructions of Driver Booster. Here you need to hit Scan > Update to allow Driver Booster to scan for your PC and get the latest network drivers for you.
After that, connect Steam to Windows 10 again to check if Steam not connecting to the internet has been resolved.
Solution 2: Check Network Connection
Besides making sure you have the compatible network driver for Windows 10, to remove unable to connect to Steam, you have to prove that the internet connection on your PC is working normally.
If your network driver runs smoothly, you might as well manage to reset some settings relevant to network on Windows 10.
1. Type in Command Prompt in the search box and right-click the result to Run as administrator.
2. In Command Prompt, copy and run the commands below one by one.
ipconfig /release
ipconfig /all
ipconfig /flushdns
ipconfig /renew
netsh int ip set dns
netsh winsock reset
Once you reset the network settings, you can obviously see the Steam error perished.
And you won’t be annoyed by the issue that Steam cannot connect to Steam network.
Solution 3: Change Network Protocol
It is known to us all that for better performance in games, Steam client usually use internet protocol UDP (User Datagram Protocol) because of its high speed.
However, sometimes, probably, this protocol would lead to the Steam client not connecting to Windows 10.
So there is much need for you to change the network protocol to TCP (Transmission Control Protocol) which is more reliable than UDP.
1. Press Windows + R to open the Run dialogue.
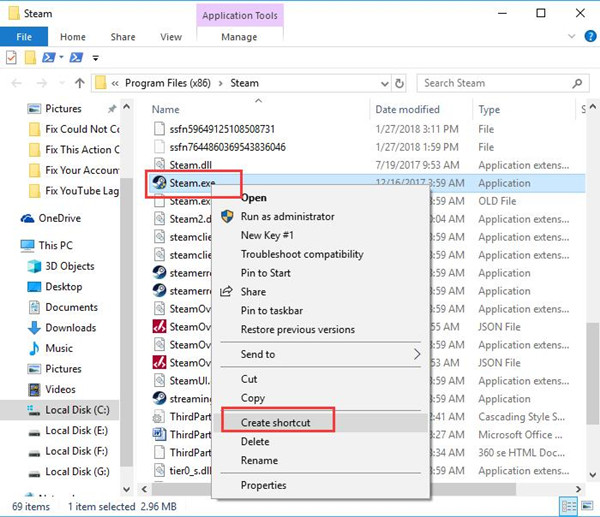
2. In the Run box, enter C:\Program Files (x86)\Steam in the box and then click OK.
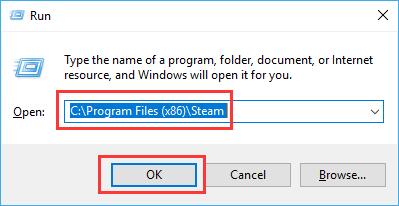
Here the path C:\Program Files (x86)\Steam is where you store the Steam client on Windows 10.
3. Find out Steam.exe and right click it to Create Shortcut.
4. Then right click the Steam.exe-Shortcut to navigate to its Properties.
5. In Steam Shortcut Properties window, under Shortcut, add -tcp in the target box.
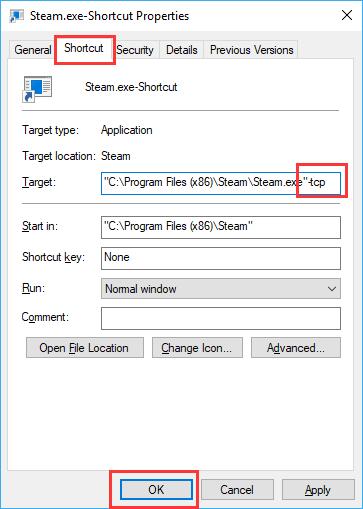
6. Then hit OK to save changes.
Thereafter, you will have properly altered the protocol for Steam network and Steam connection error will no longer persist on Windows 10.
You can launch Steam client again and find it can connect to the Steam network.
Solution 4: Reinstall Steam To Fix Steam Not Connecting
The last method you can turn to fix there is no network connection could be made to the steam servers is to uninstall Steam Client and reinstall it on Windows 10. Maybe the new Steam software can connect to the internet quickly and smoothly.
You can at the very beginning remove the steam client in Control Panel.
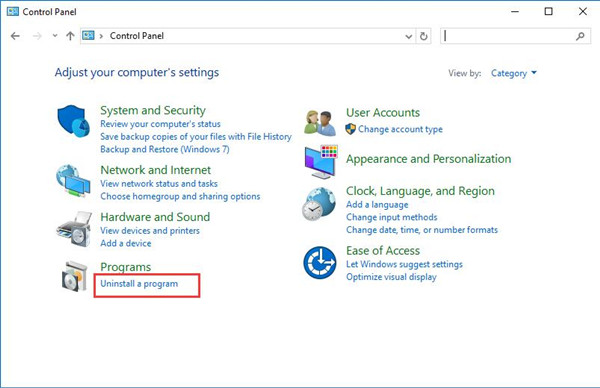
1. Go to Control Panel.
2. Under Programs, choose to Uninstall a program.
3. In Programs and Features, locate Steam and right click it to Uninstall.
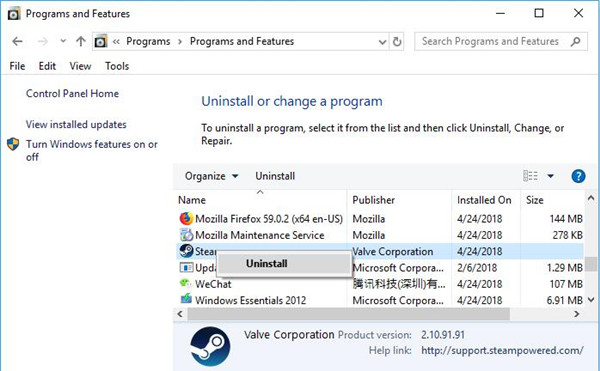
4. Then you can restart your computer.
Shortly after that, search online for the updated Steam software for Windows 10.
When you run it again on your PC, the message saying Steam cannot connect to the Steam network will not pop up and there is no more Steam connection error on Windows 10.
Bonus Tip: Run Steam Games in Game Mode
Sometimes, even if Windows 10 connected to the steam network, you will also notice that games run slowly on Steam. That can be caused by corrupted drivers or game components or too many background programs to some extent.
Here it is strongly recommendable that you turn to Driver Booster as well. It will provide you with the most suitable and latest drivers and game components, such as the graphics driver and the network driver updated above and the Microsoft Visual C++ packages.
Additionally, Driver Booster can get your PC into Game Mode where all other unnecessary or non-Windows-based applications are disabled or set low priority to enable you to play Steam games at the maximized performance.
Update Game Drivers and Components Automatically:
Download, install and run Driver Booster on your computer.
1. Click the Scan button.

2. Update the Driver ready for Steam games. In most cases, it is the graphics driver.
3. Go further to Update the Game Support component or Update Now to get all the game components.
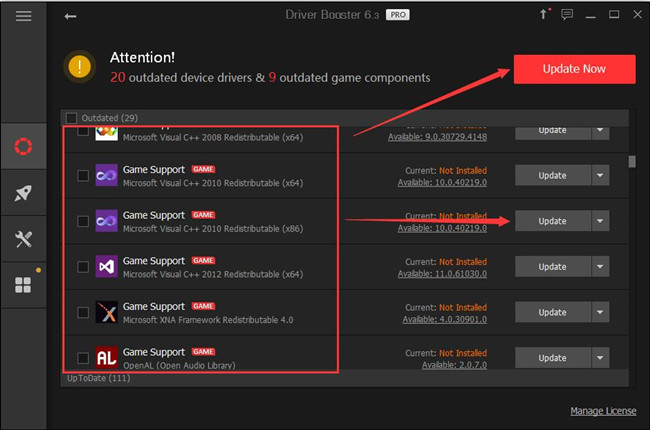
You can see Driver Booster will install the drivers and game components automatically for you.
Enter Steam Game Mode:
It is also foolproof to use Driver Booster to put your PC into the Game mode for Steam games.
In Driver Booster, on the left pane, locate and hit Boost and then Turn on Game Boost on the right side.
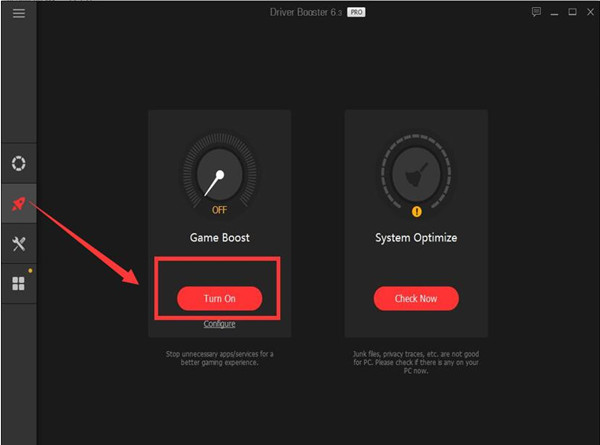
Once in game mode, some unneeded programs won’t work to use up the CPU, disk, RAM resources, which in turn significantly boost your games on Steam platform.
To conclude, with regard to Steam network not working error, you can choose a solution from this article or try them one by one until no Steam error appears on Windows 10. Here as for other Steam issues, such as Steam disk write error.
More Articles:
How to Run Older Games and Apps in Compatibility Mode on Windows 11/10